Bike Modifications – By Brendon
A good few weeks in with over 1600 kilometers under our belts and we have a pretty good feel for ‘Falkor the Luck Tandem’. We are getting in-sync with our pedaling and can both hear when something isn’t feeling right with the ride. With that said, I will take you through some modifications, attachments and improvements we have made to our machine.
For anyone who has ridden a Hase Pino tandem, you will know all the intricate problems associated with a bike that is built with everything at a different spec than a standard bike frame. From the over sized tubing, to the lack of frame-space available to carry enough water for 2 people on the long, hot days on the road. Some of these ideas are not original and some have been modified to fit our needs.
1 – Tool kit bag
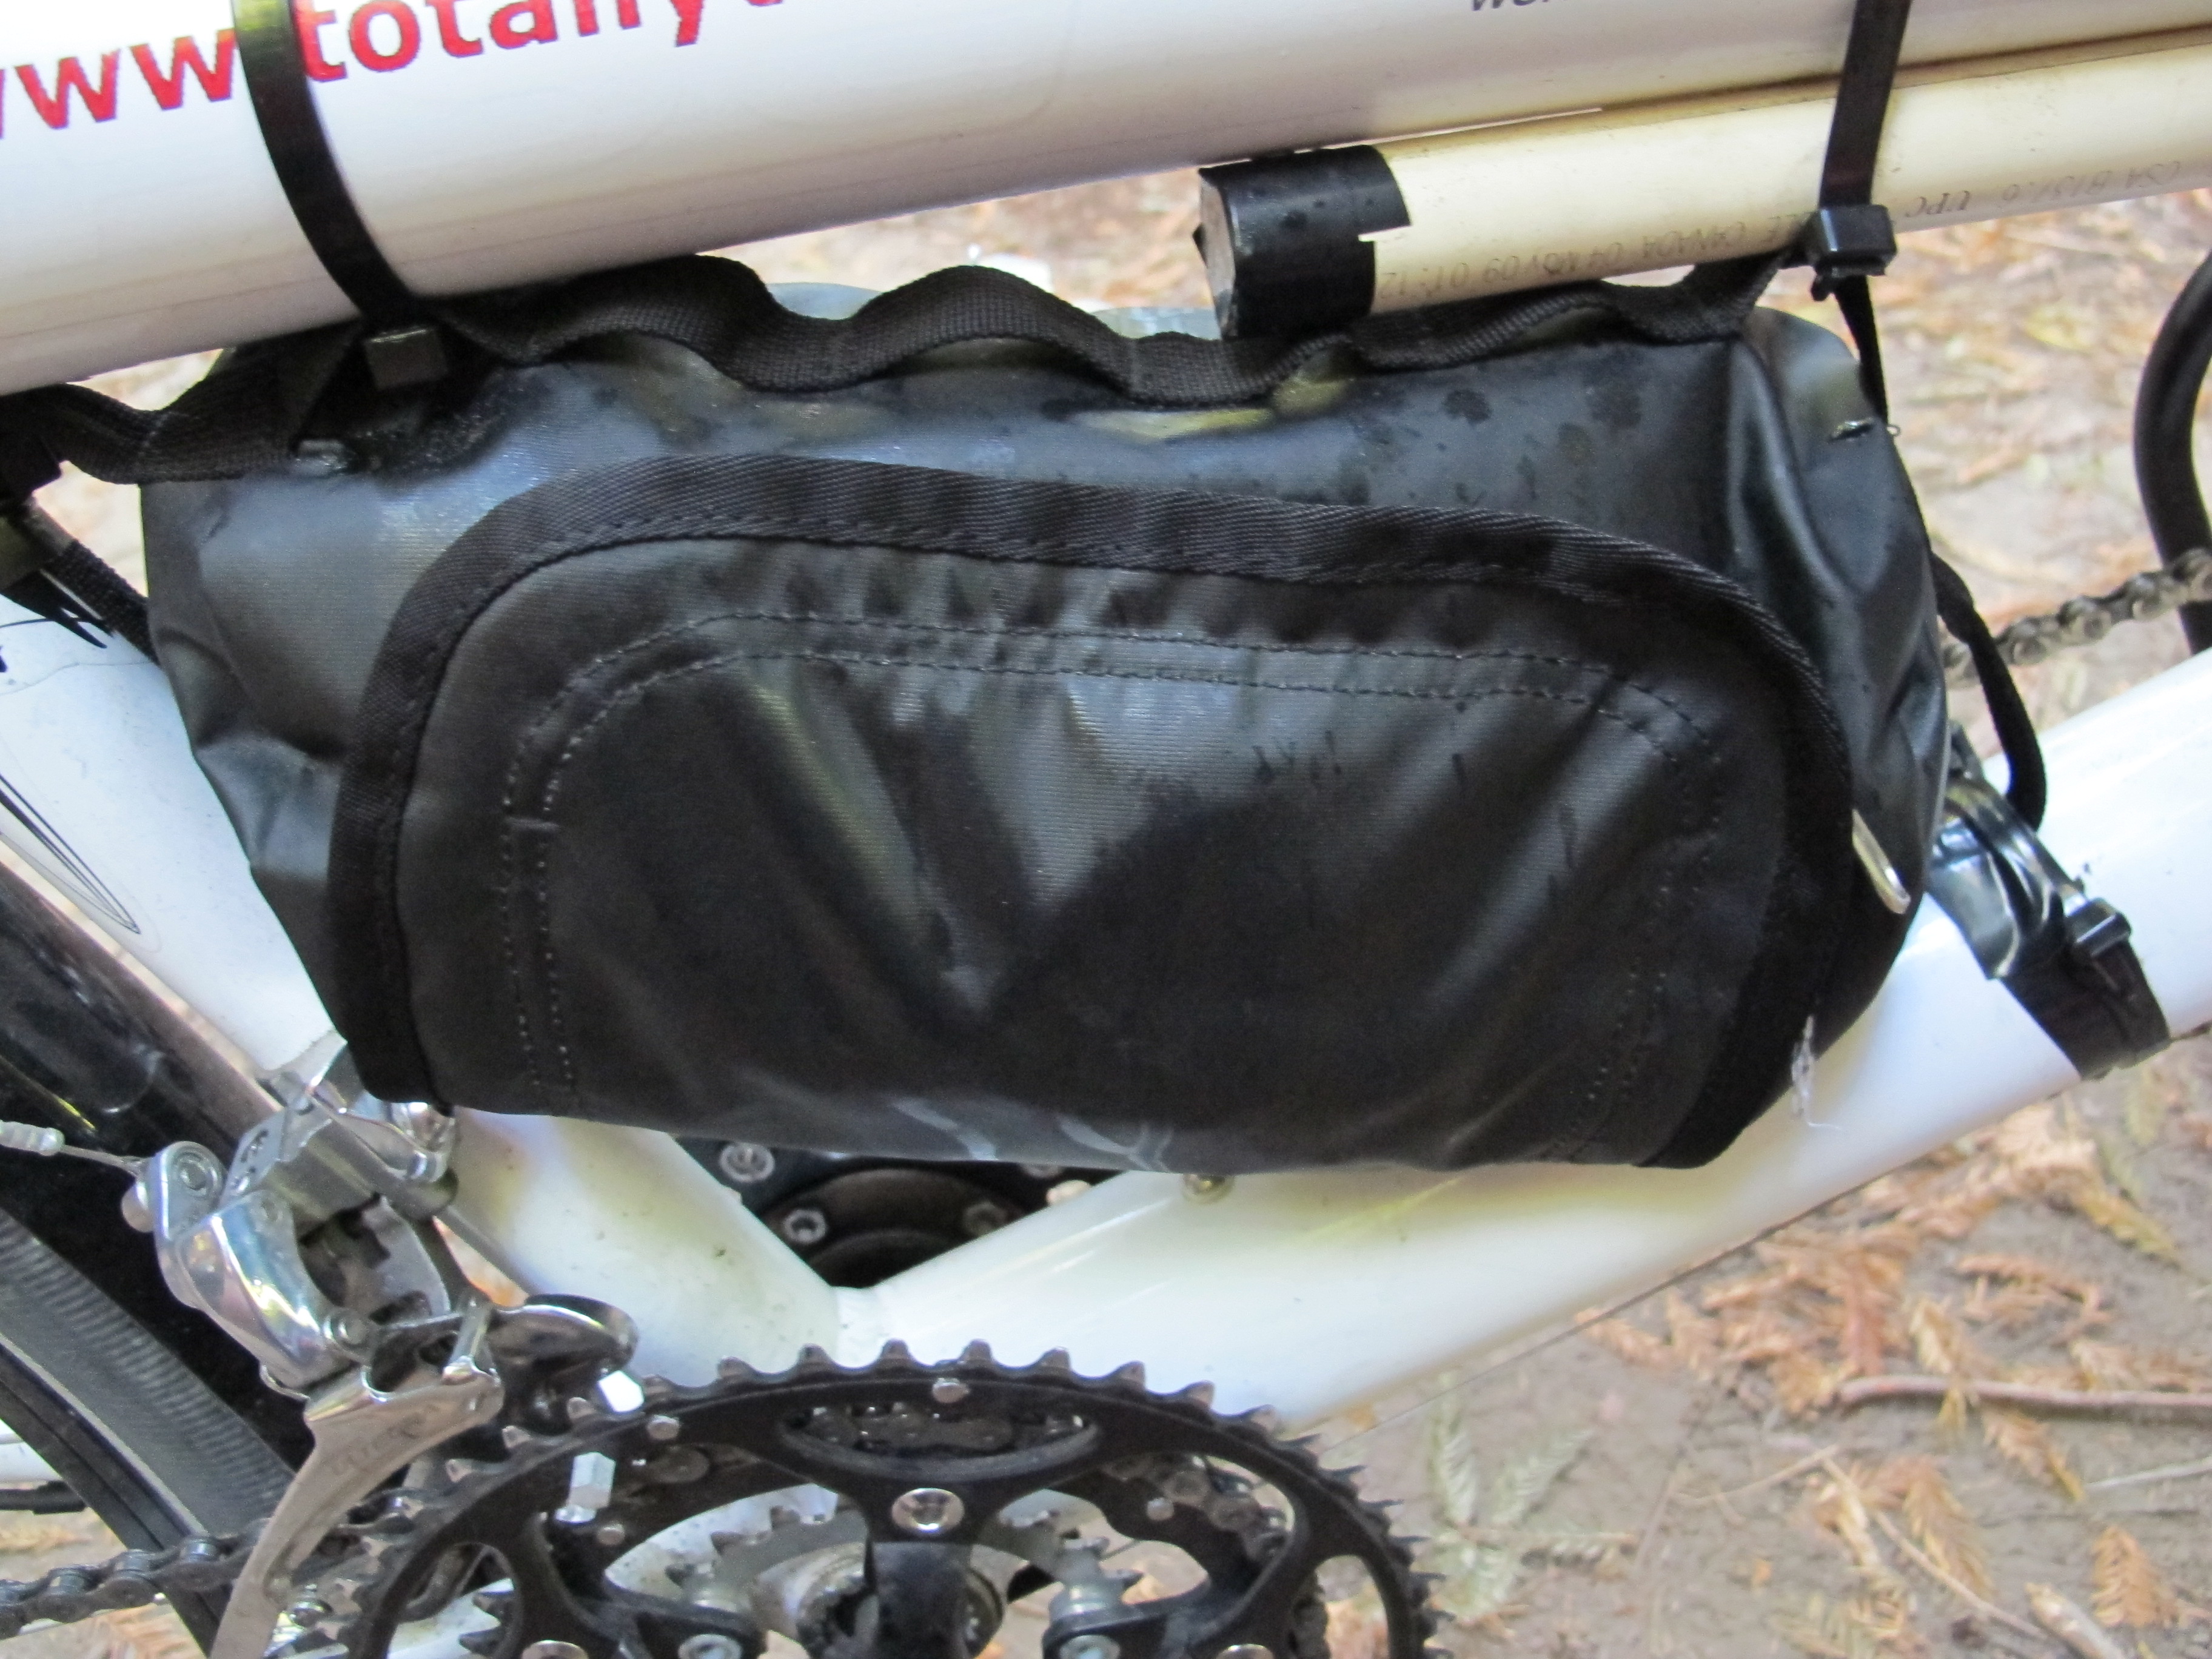
The tool kit bag; a North Face toiletries bag attached to the frame with cable ties. It holds all the tools and spares.
We really wanted a frame bag for this job (triangle bag that fits in the diamond frame space on most bikes). Unfortunately they are hard to find in a good size and the Pino has a smaller than standard space to fit a standard bag. We found and fitted a North Face toiletries bag with the help of the beloved cable tie. Not perfect but fits in the space and holds the tools we need.
2 – Spare Spokes
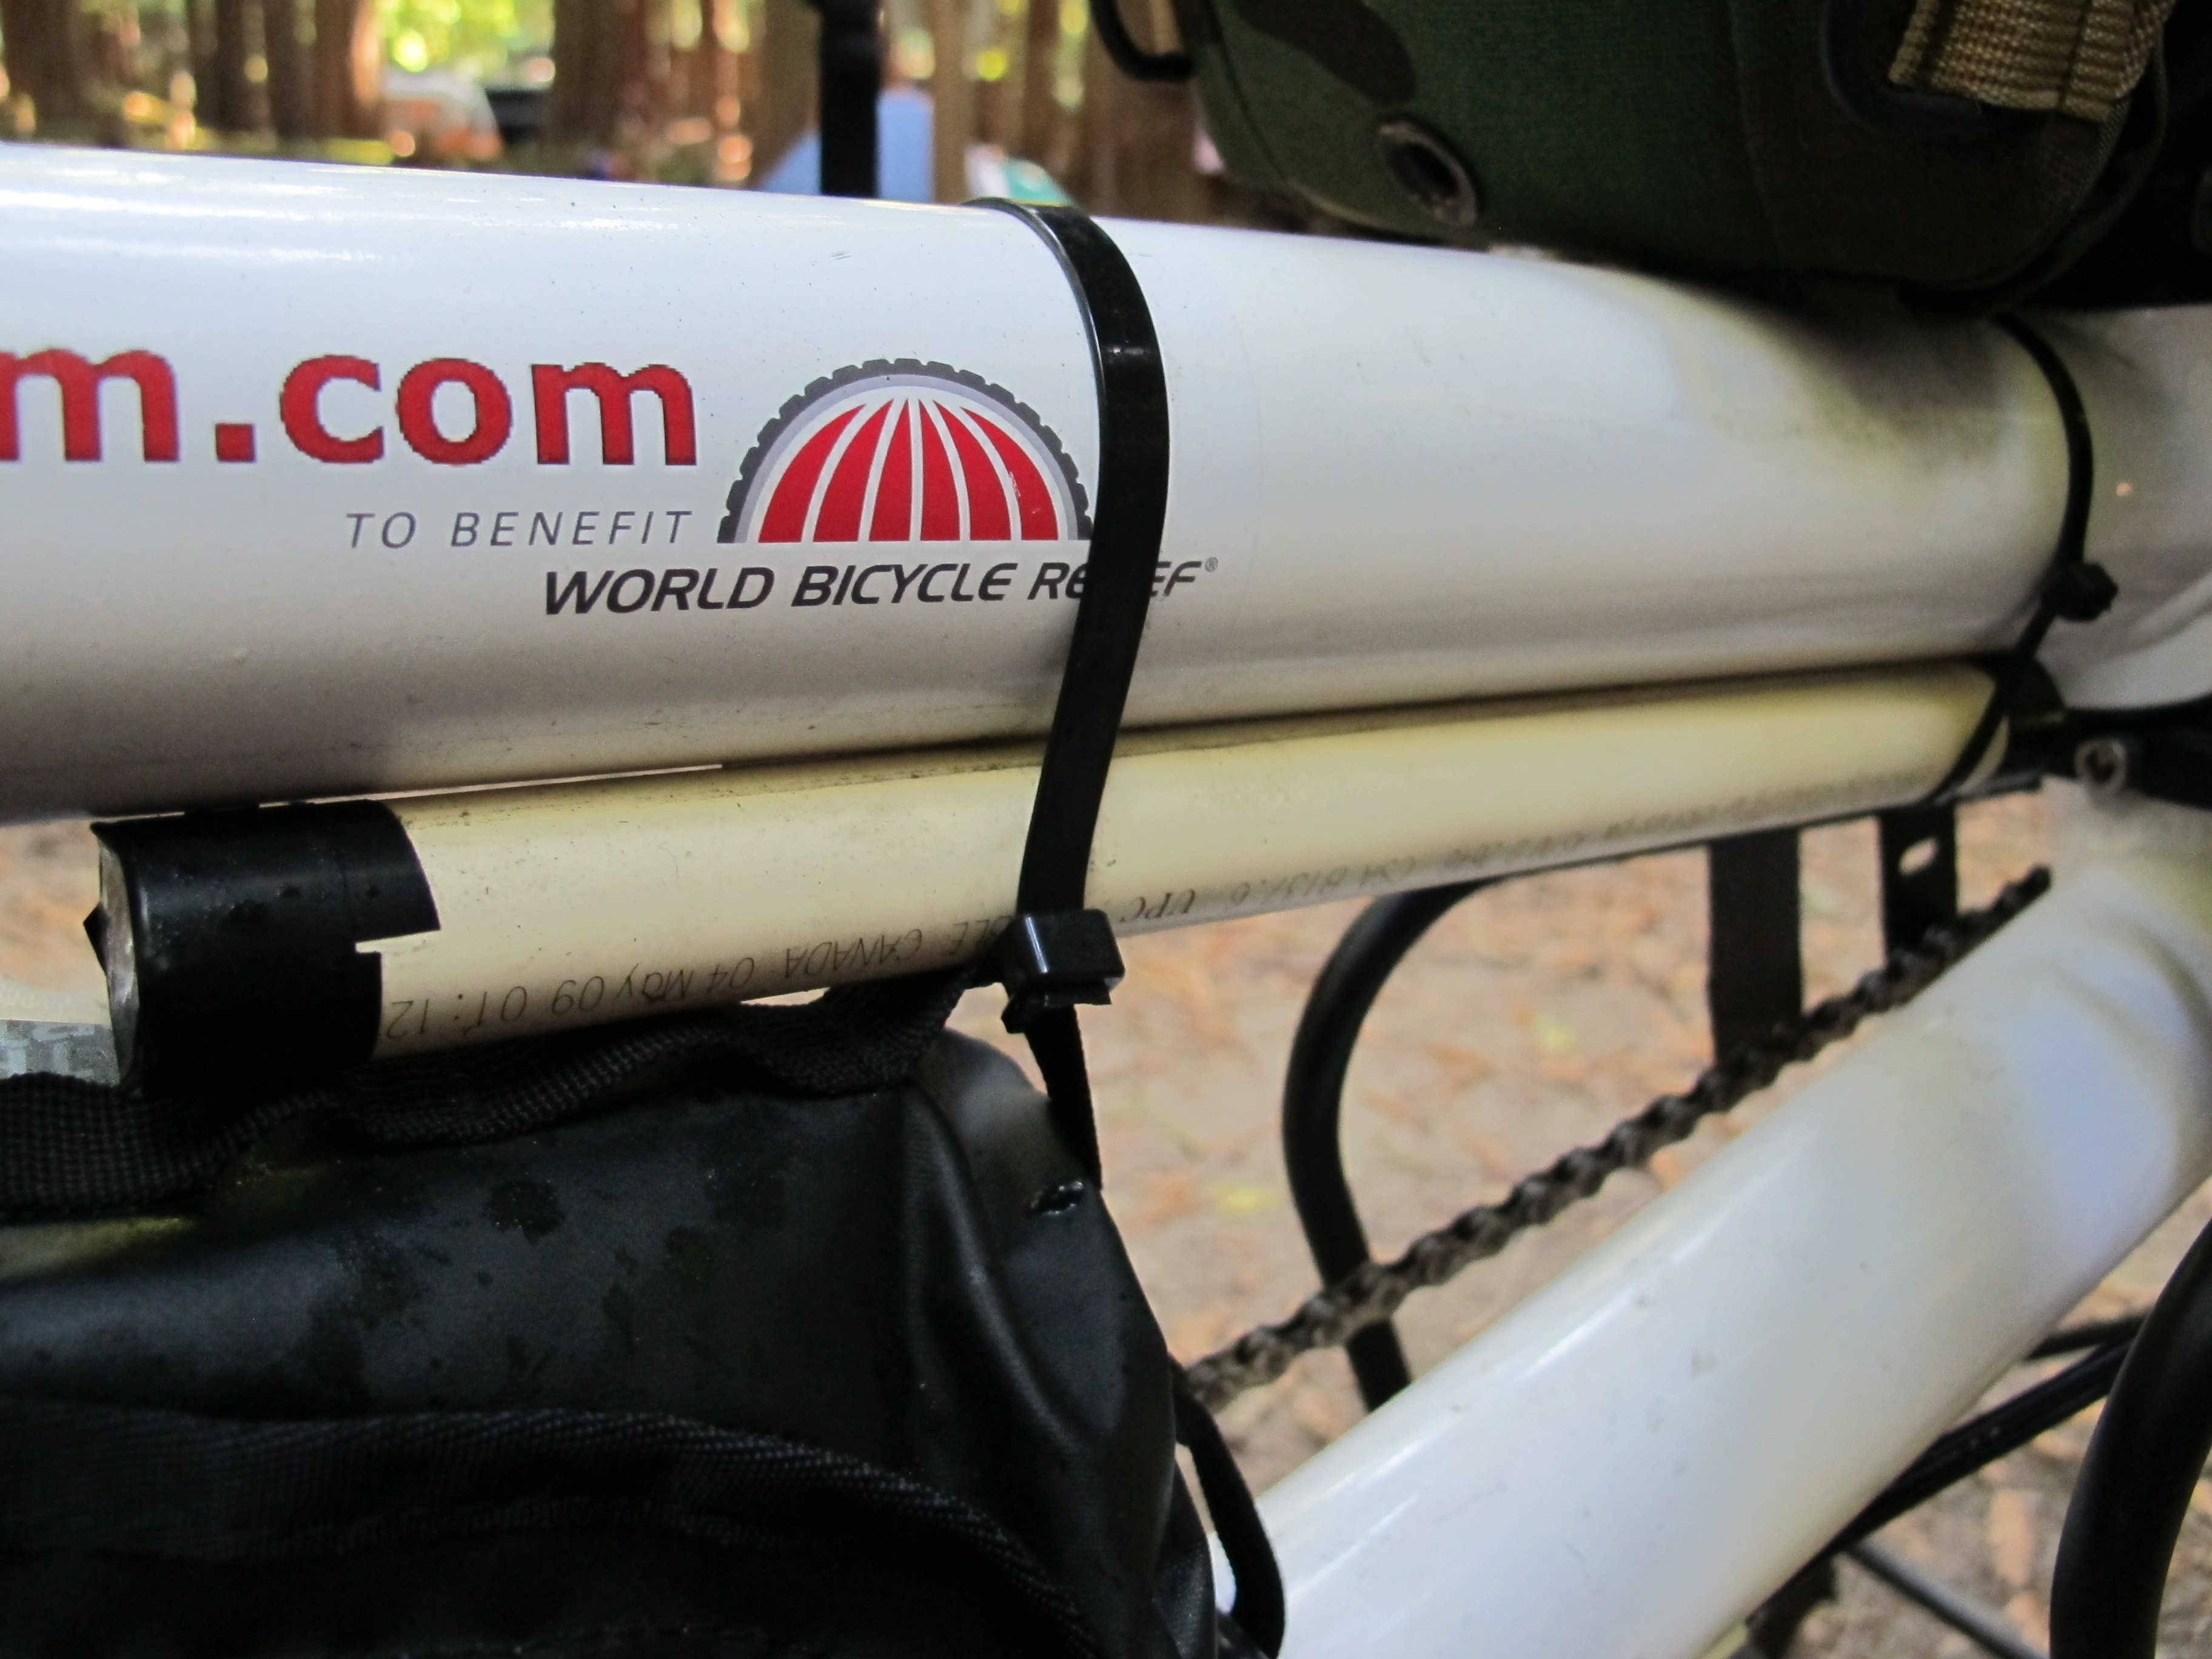
Conduit tubing attached to the frame with cable ties, stores our spare spokes to keep them straight
Can be difficult to travel with spokes packed with all our other gear. They tend to get bent, which is not the most ideal way to use a spoke. One blog I read gave a great idea of using packing foam inside the seat tubing to keep the spokes straight and out the way. Ideally we really don’t want to be using this item, but I thought it was a great way to store spokes, until I take the seat post out to find the suspension mechanism takes up the entire seat post. Bummer! Next best option was to get a length of conduit tubing and use some foam and tape to seal the ends and (once again) cable tie them to the frame. Job done.
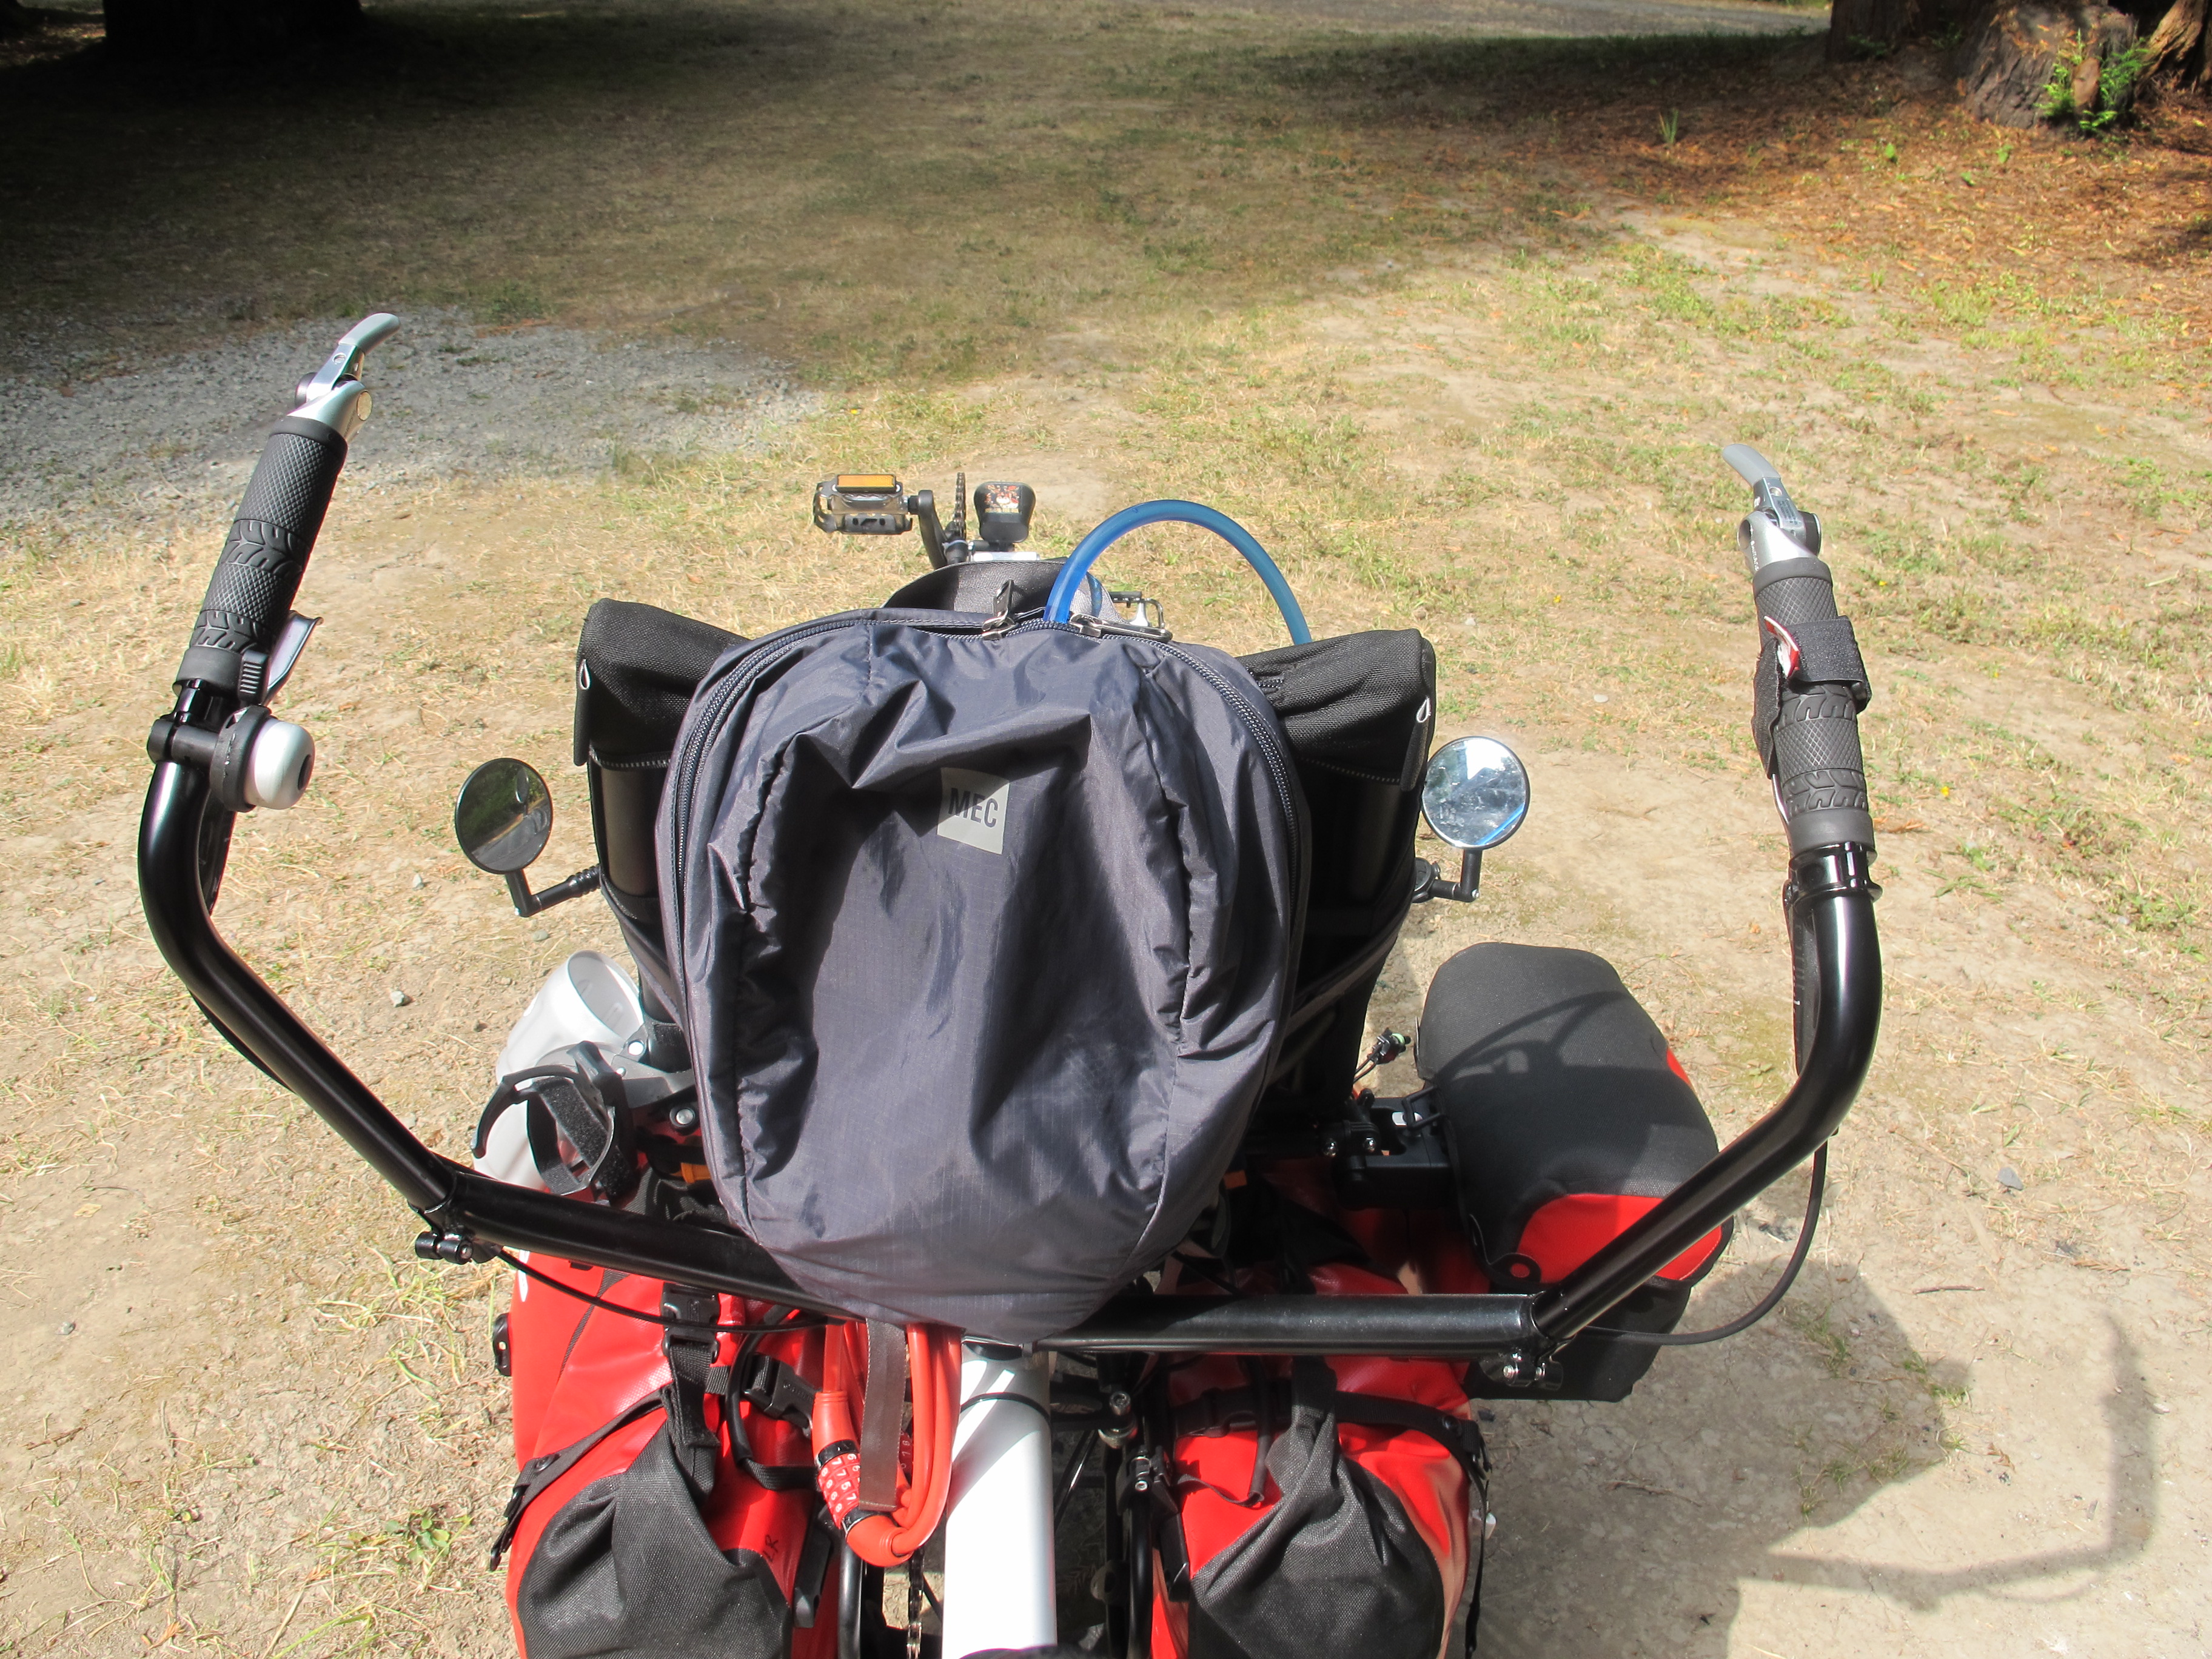
3 – Handle bar bag
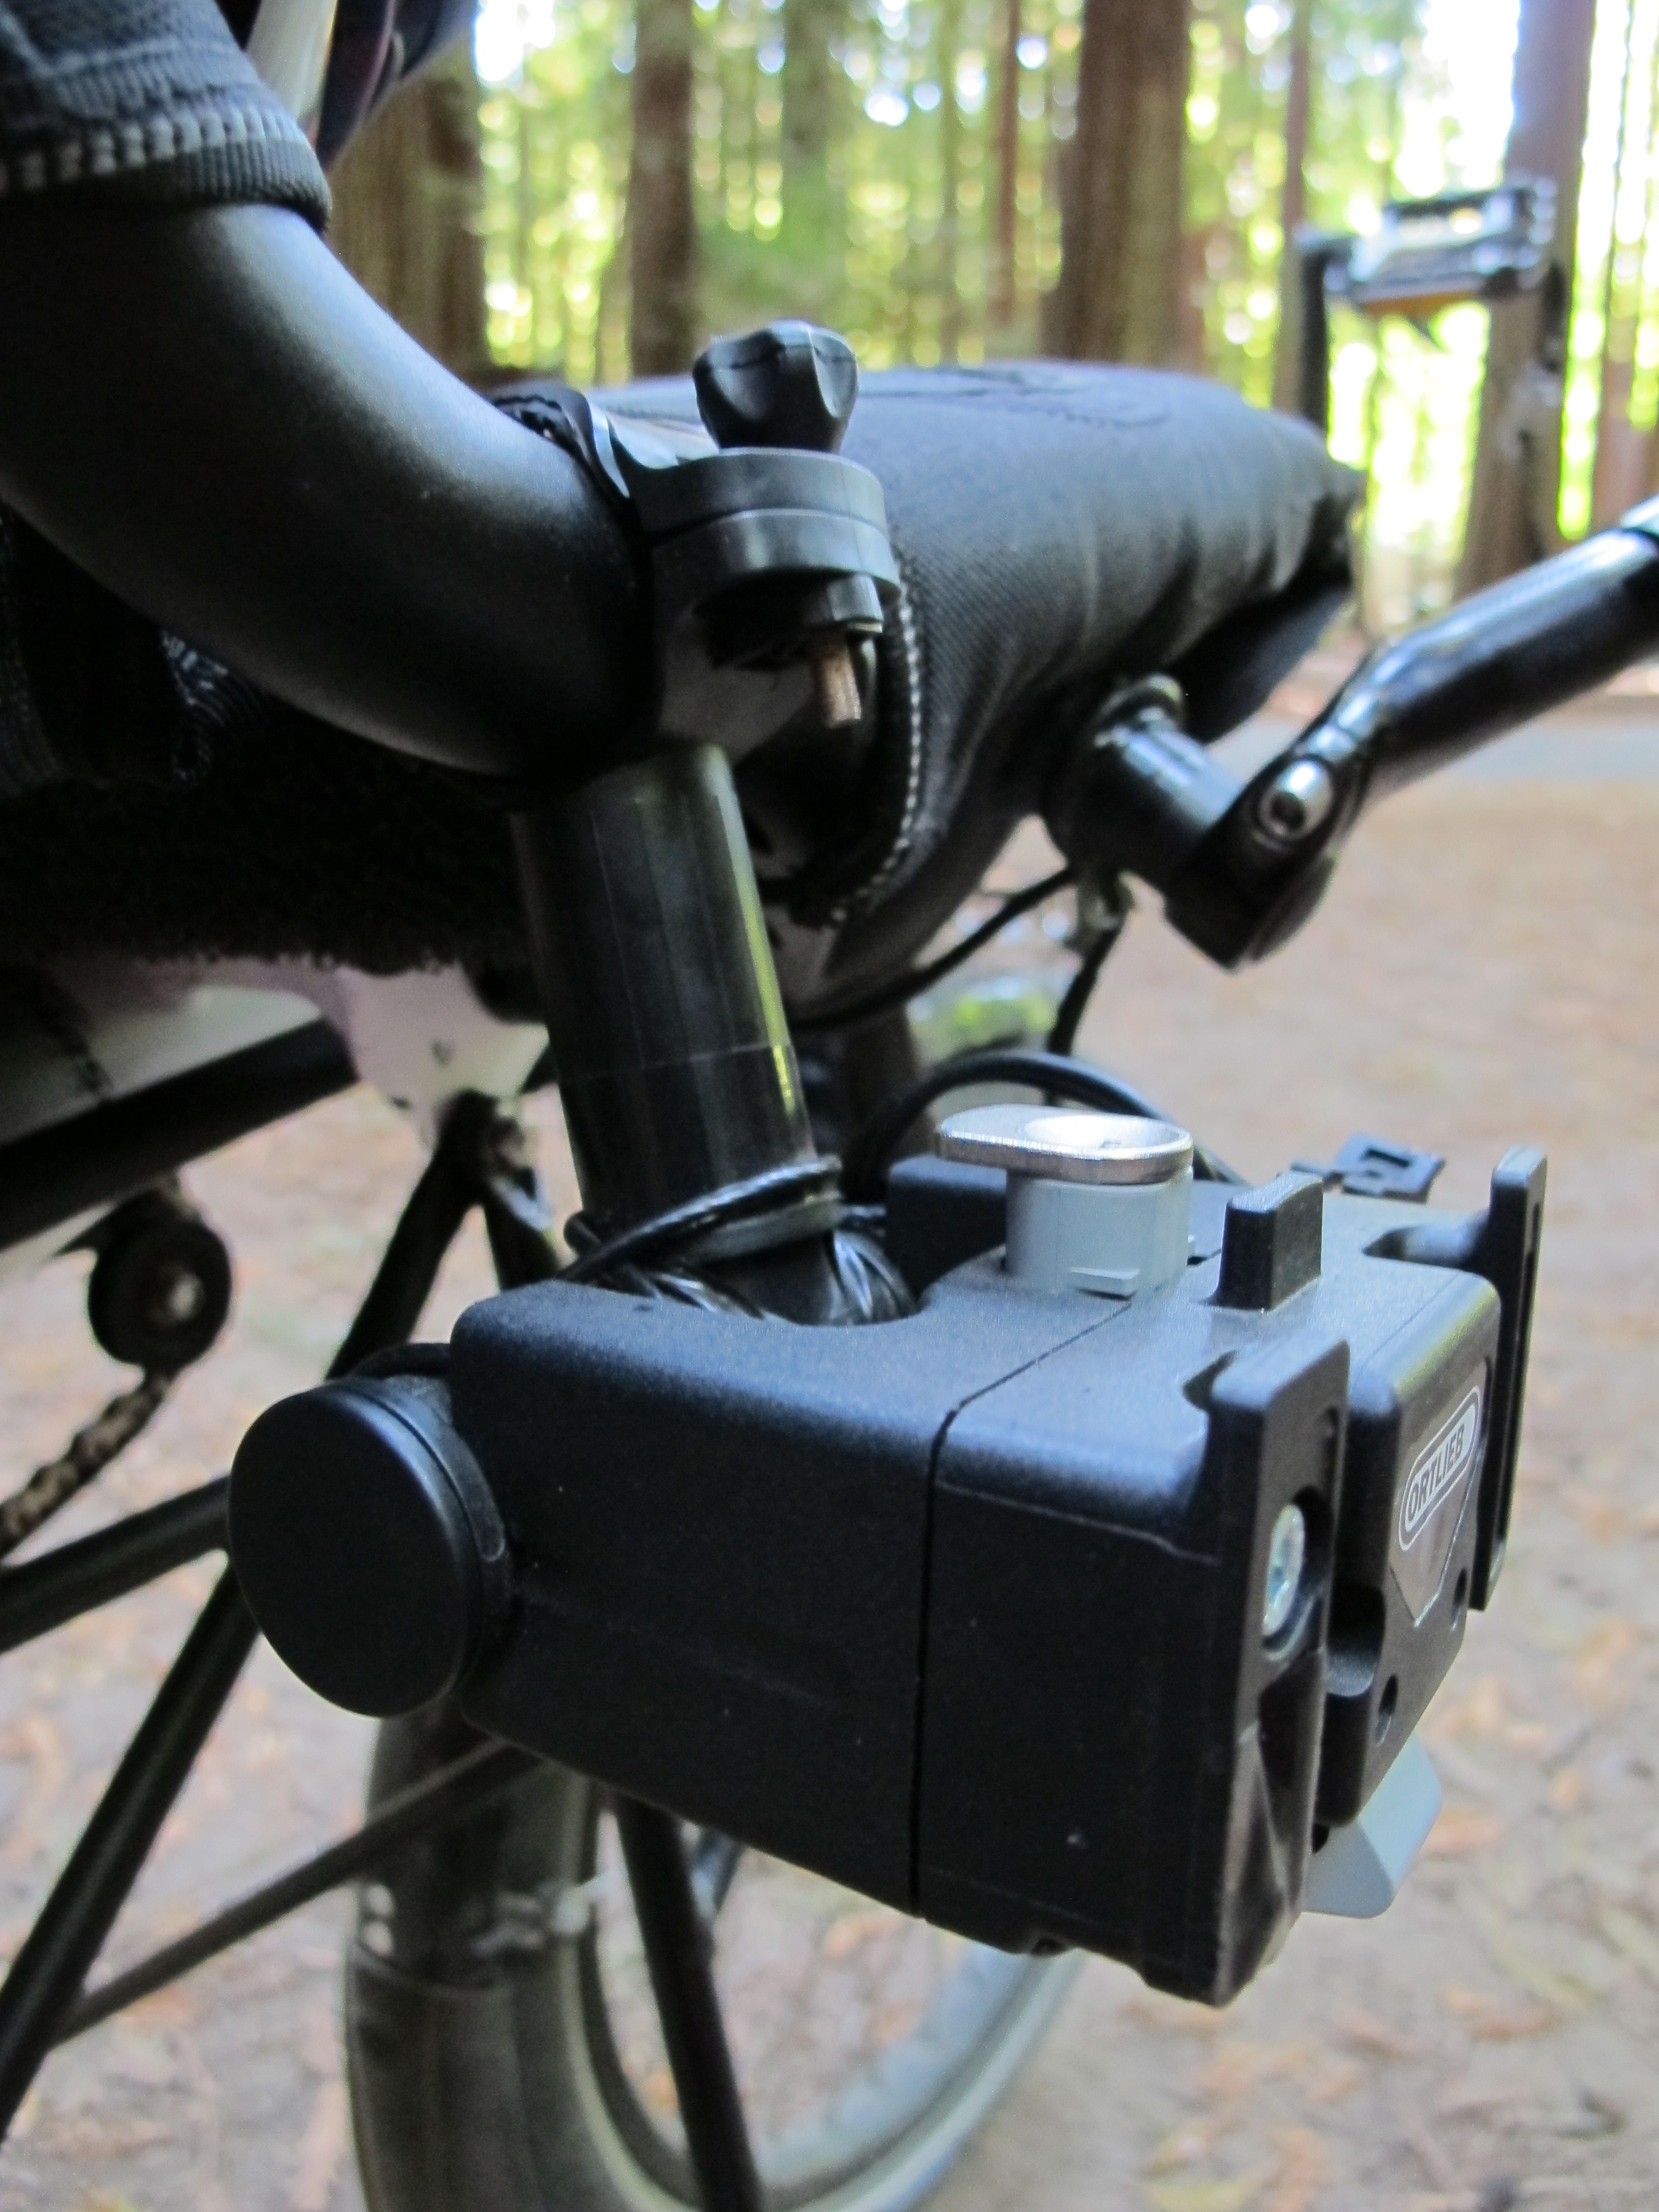
The mount for the handle bar bag
The handle bar bag on the mount
For those who have toured with the Pino will know this problem intimately. Where to fit the handle bar bag when you don’t have any handlebars? I have read quite a few blogs that have different methods on this issue. The best, probably was from ‘Seven league Boots’, who fashioned some old mountain bike extension bars to make the mount for their bag. With the help of our mate Clyde, we were going one step further to fabricate a mount to fit the bar ends from the front seat. However, a simple fix came from the $5 plastic bar extension I grabbed off e-bay. Originally I was going to use these parts as some cheep bar risers to give me some extra hand positions to rest my arms and shoulders. This idea was an epic fail. Once again they didn’t fit the over or under-sized tubing on our bike. However, they did work out perfect for a mount off the front seat to mount the handle bar bag. Emma now has easy access to our pedal power + battery to control the charge on the Garmin, i-touch, and camera batteries, and on the fly photo ops, plus some easy access to some old school paper maps. Awesome fix and definitely recommended for anyone struggling over this issue for the Hase Pino.
4 – The Sound System

The speaker mount
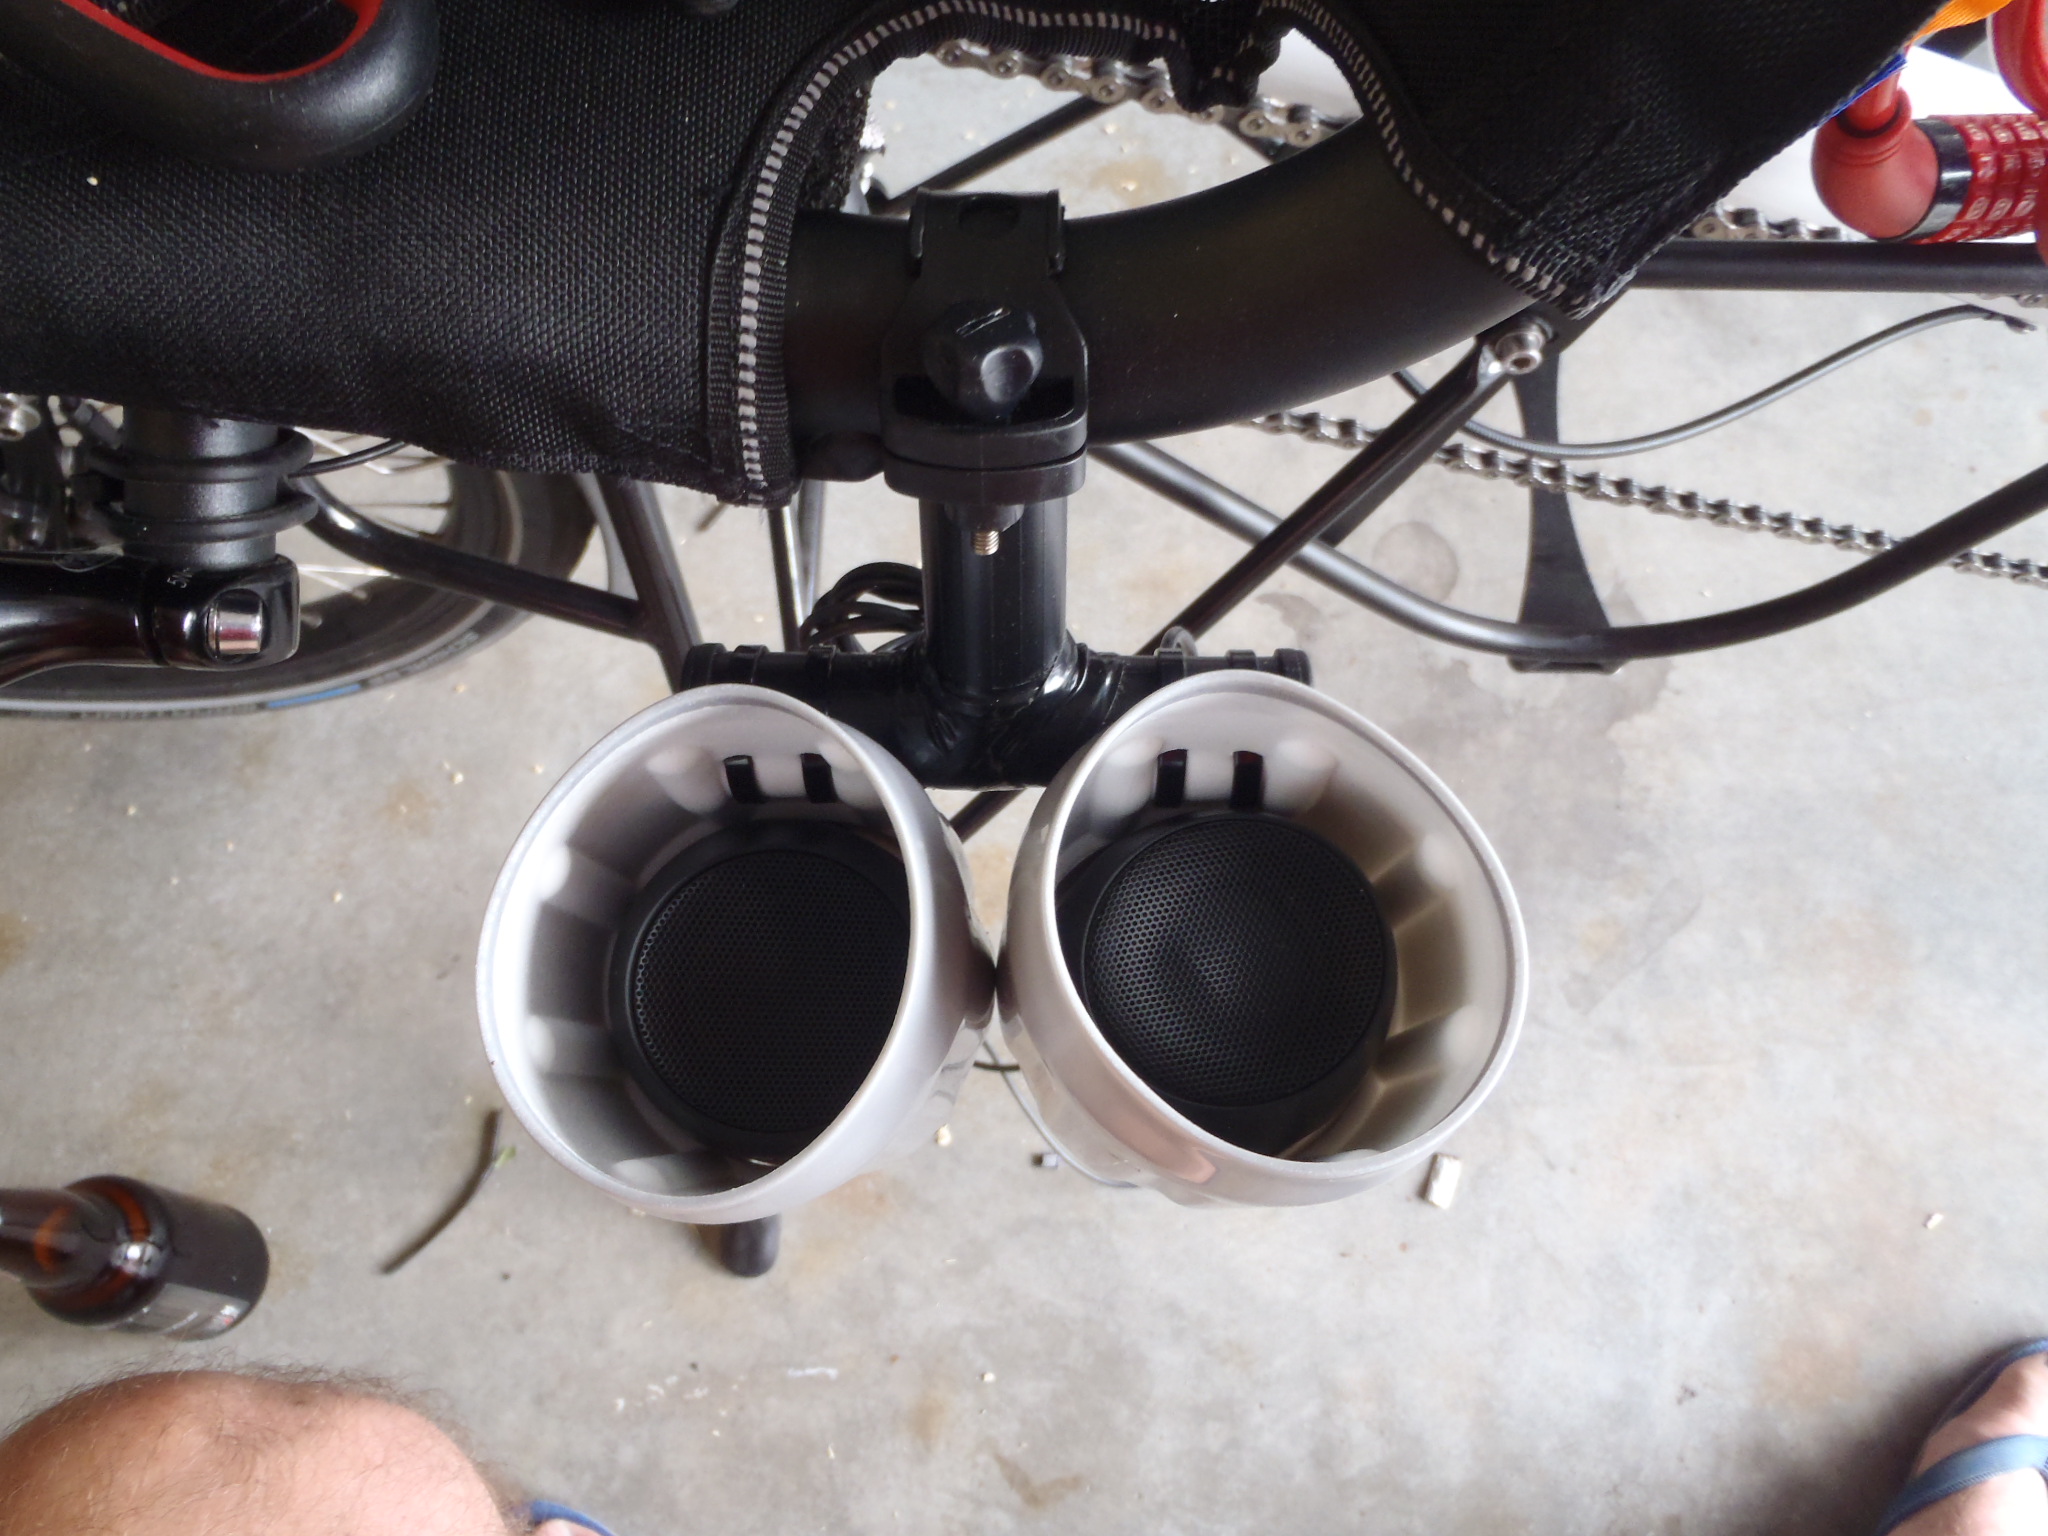
The speakers sitting happily in the mounts
Our luxury item. That list is getting bigger but we love it and Em needs her tunes to get through some of the hot hilly days. To be fair, I kinda like mixing it up a bit with some tunes as well. The i-home rechargeable speakers were an idea from ‘tired of I.T’ (thanks Dave). We have used the other plastic mount from e-bay to fit to the other side of the front seat and fashioned some cup holders to it (again with the ever versatile cable tie). Now we have some pumping tunes coming from Falkor. All we need is some hydraulic bouncy shocks on the front end and we will look right at home in downtown LA.
5 – Water storage
Bren’s 2litre hydration bag
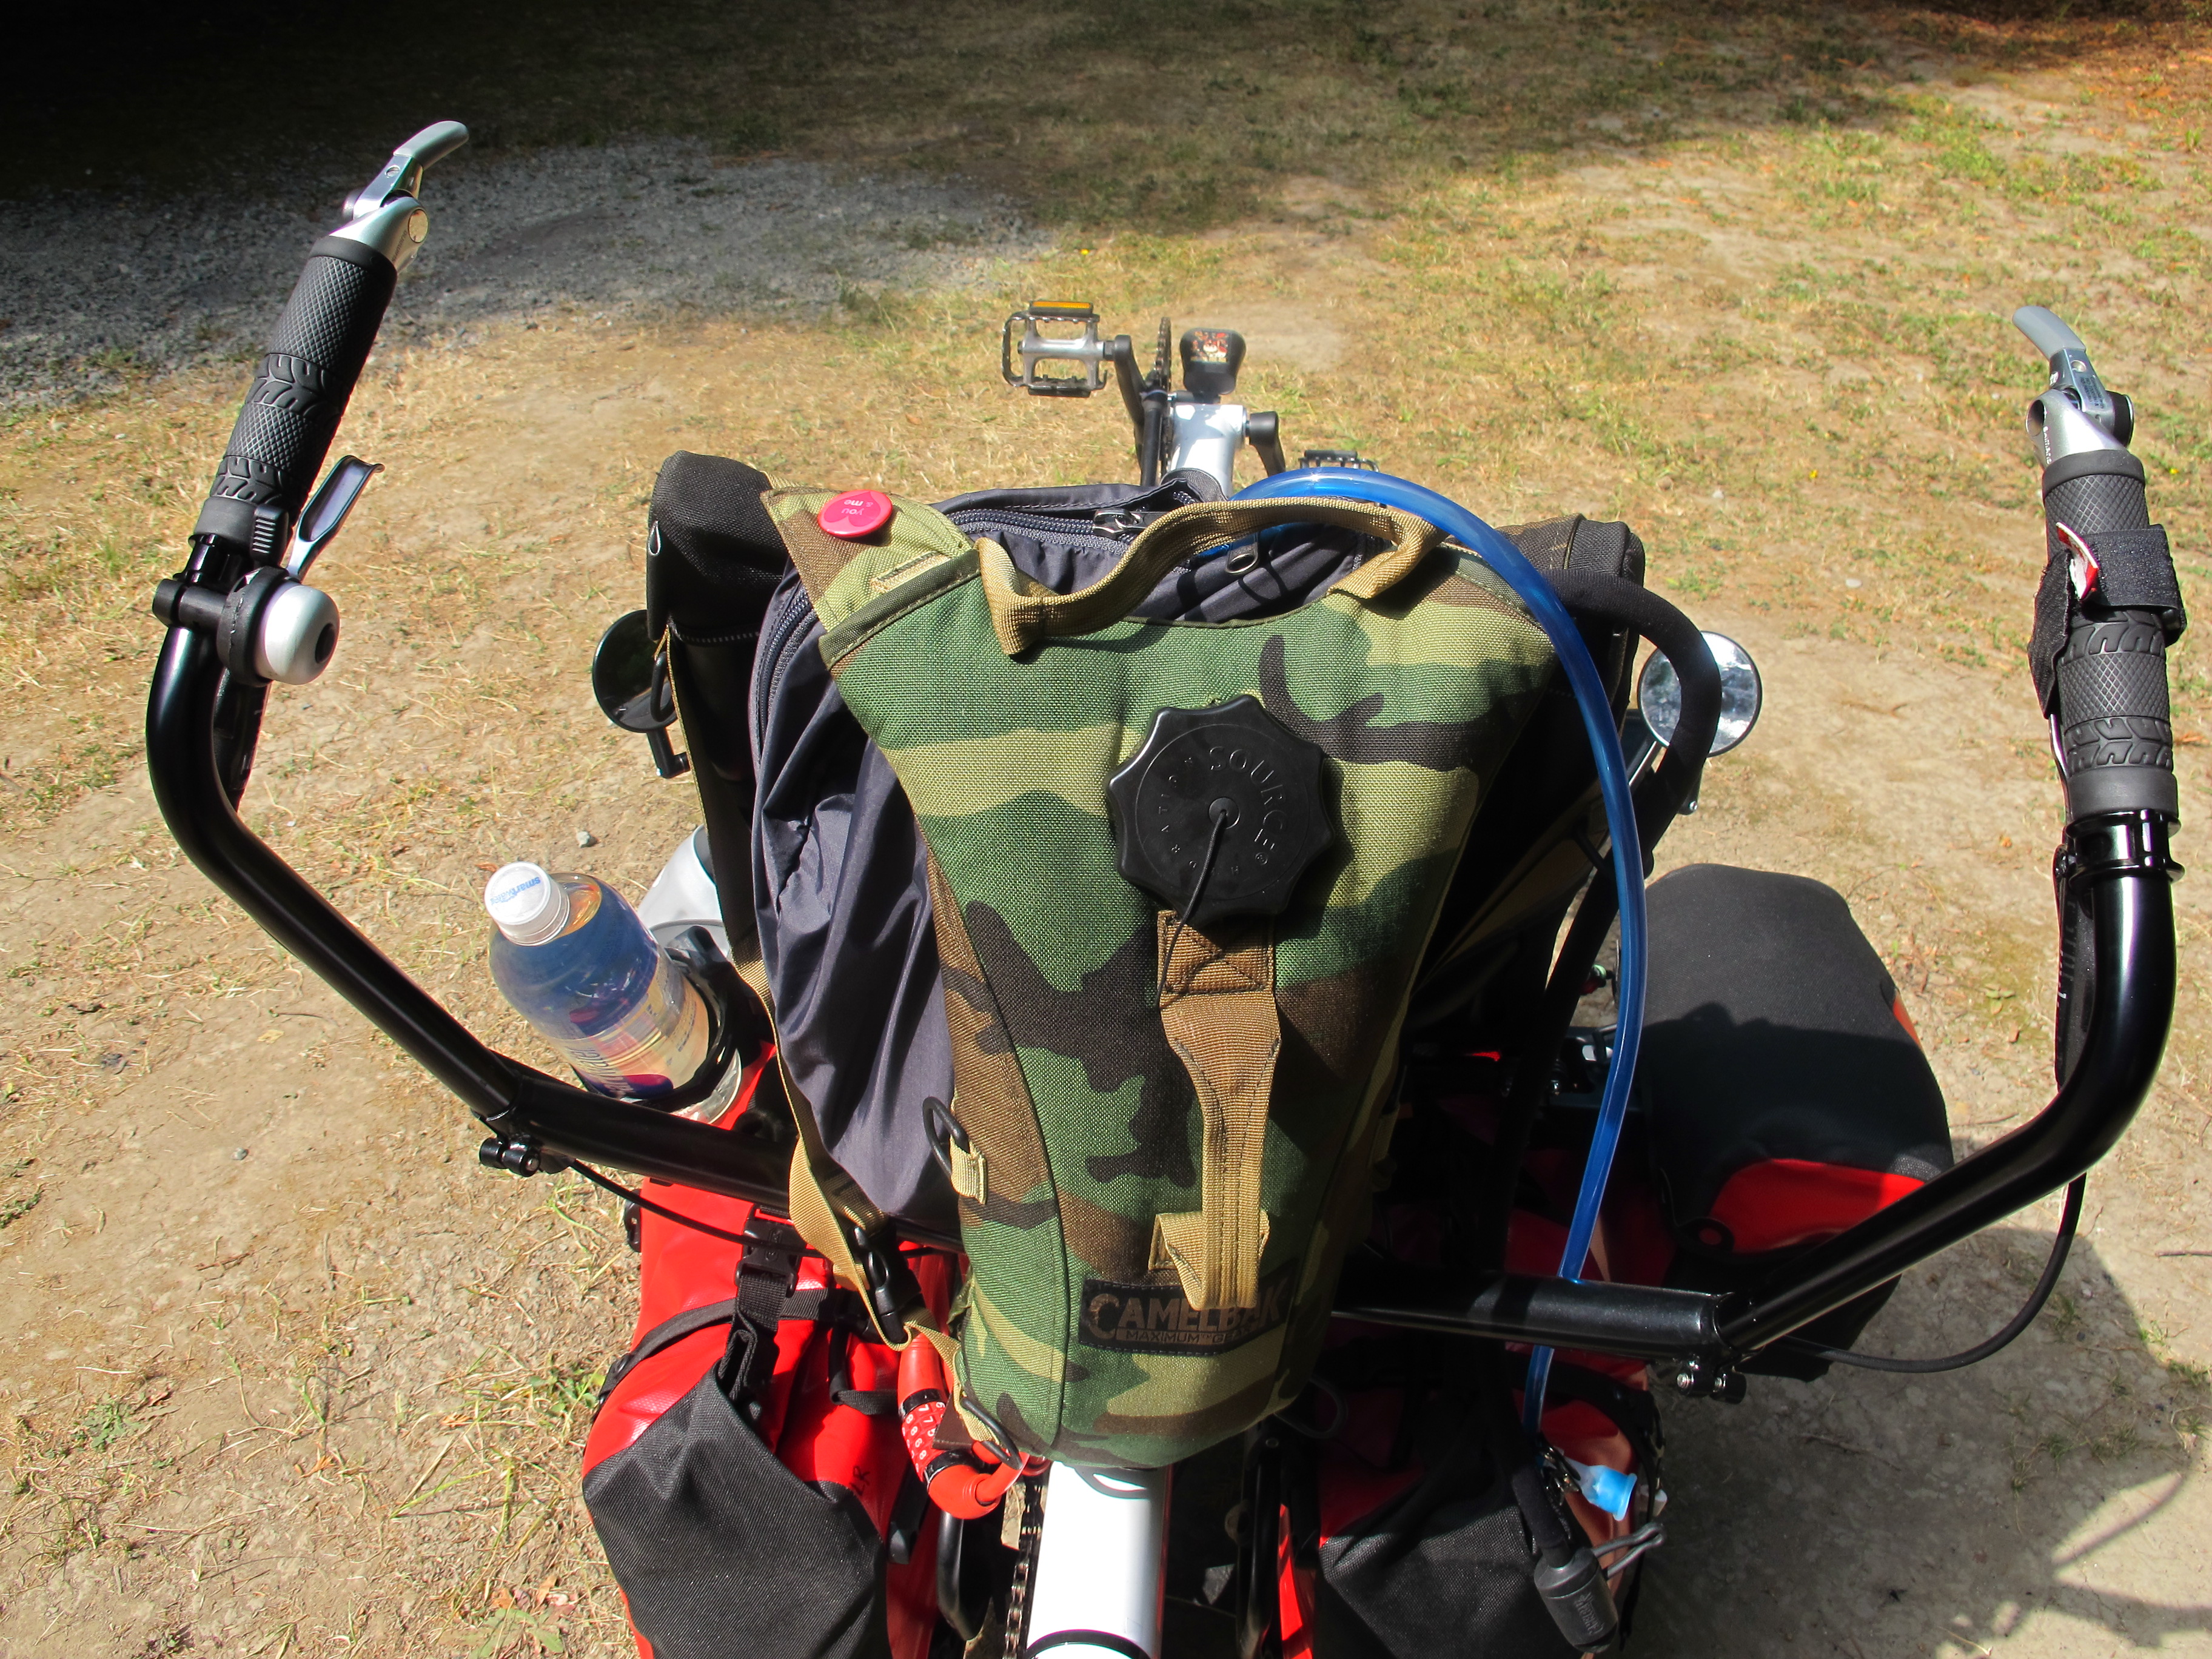
Em’s 3 litre hydration bag added on top of Brendon’s to the back of the seat
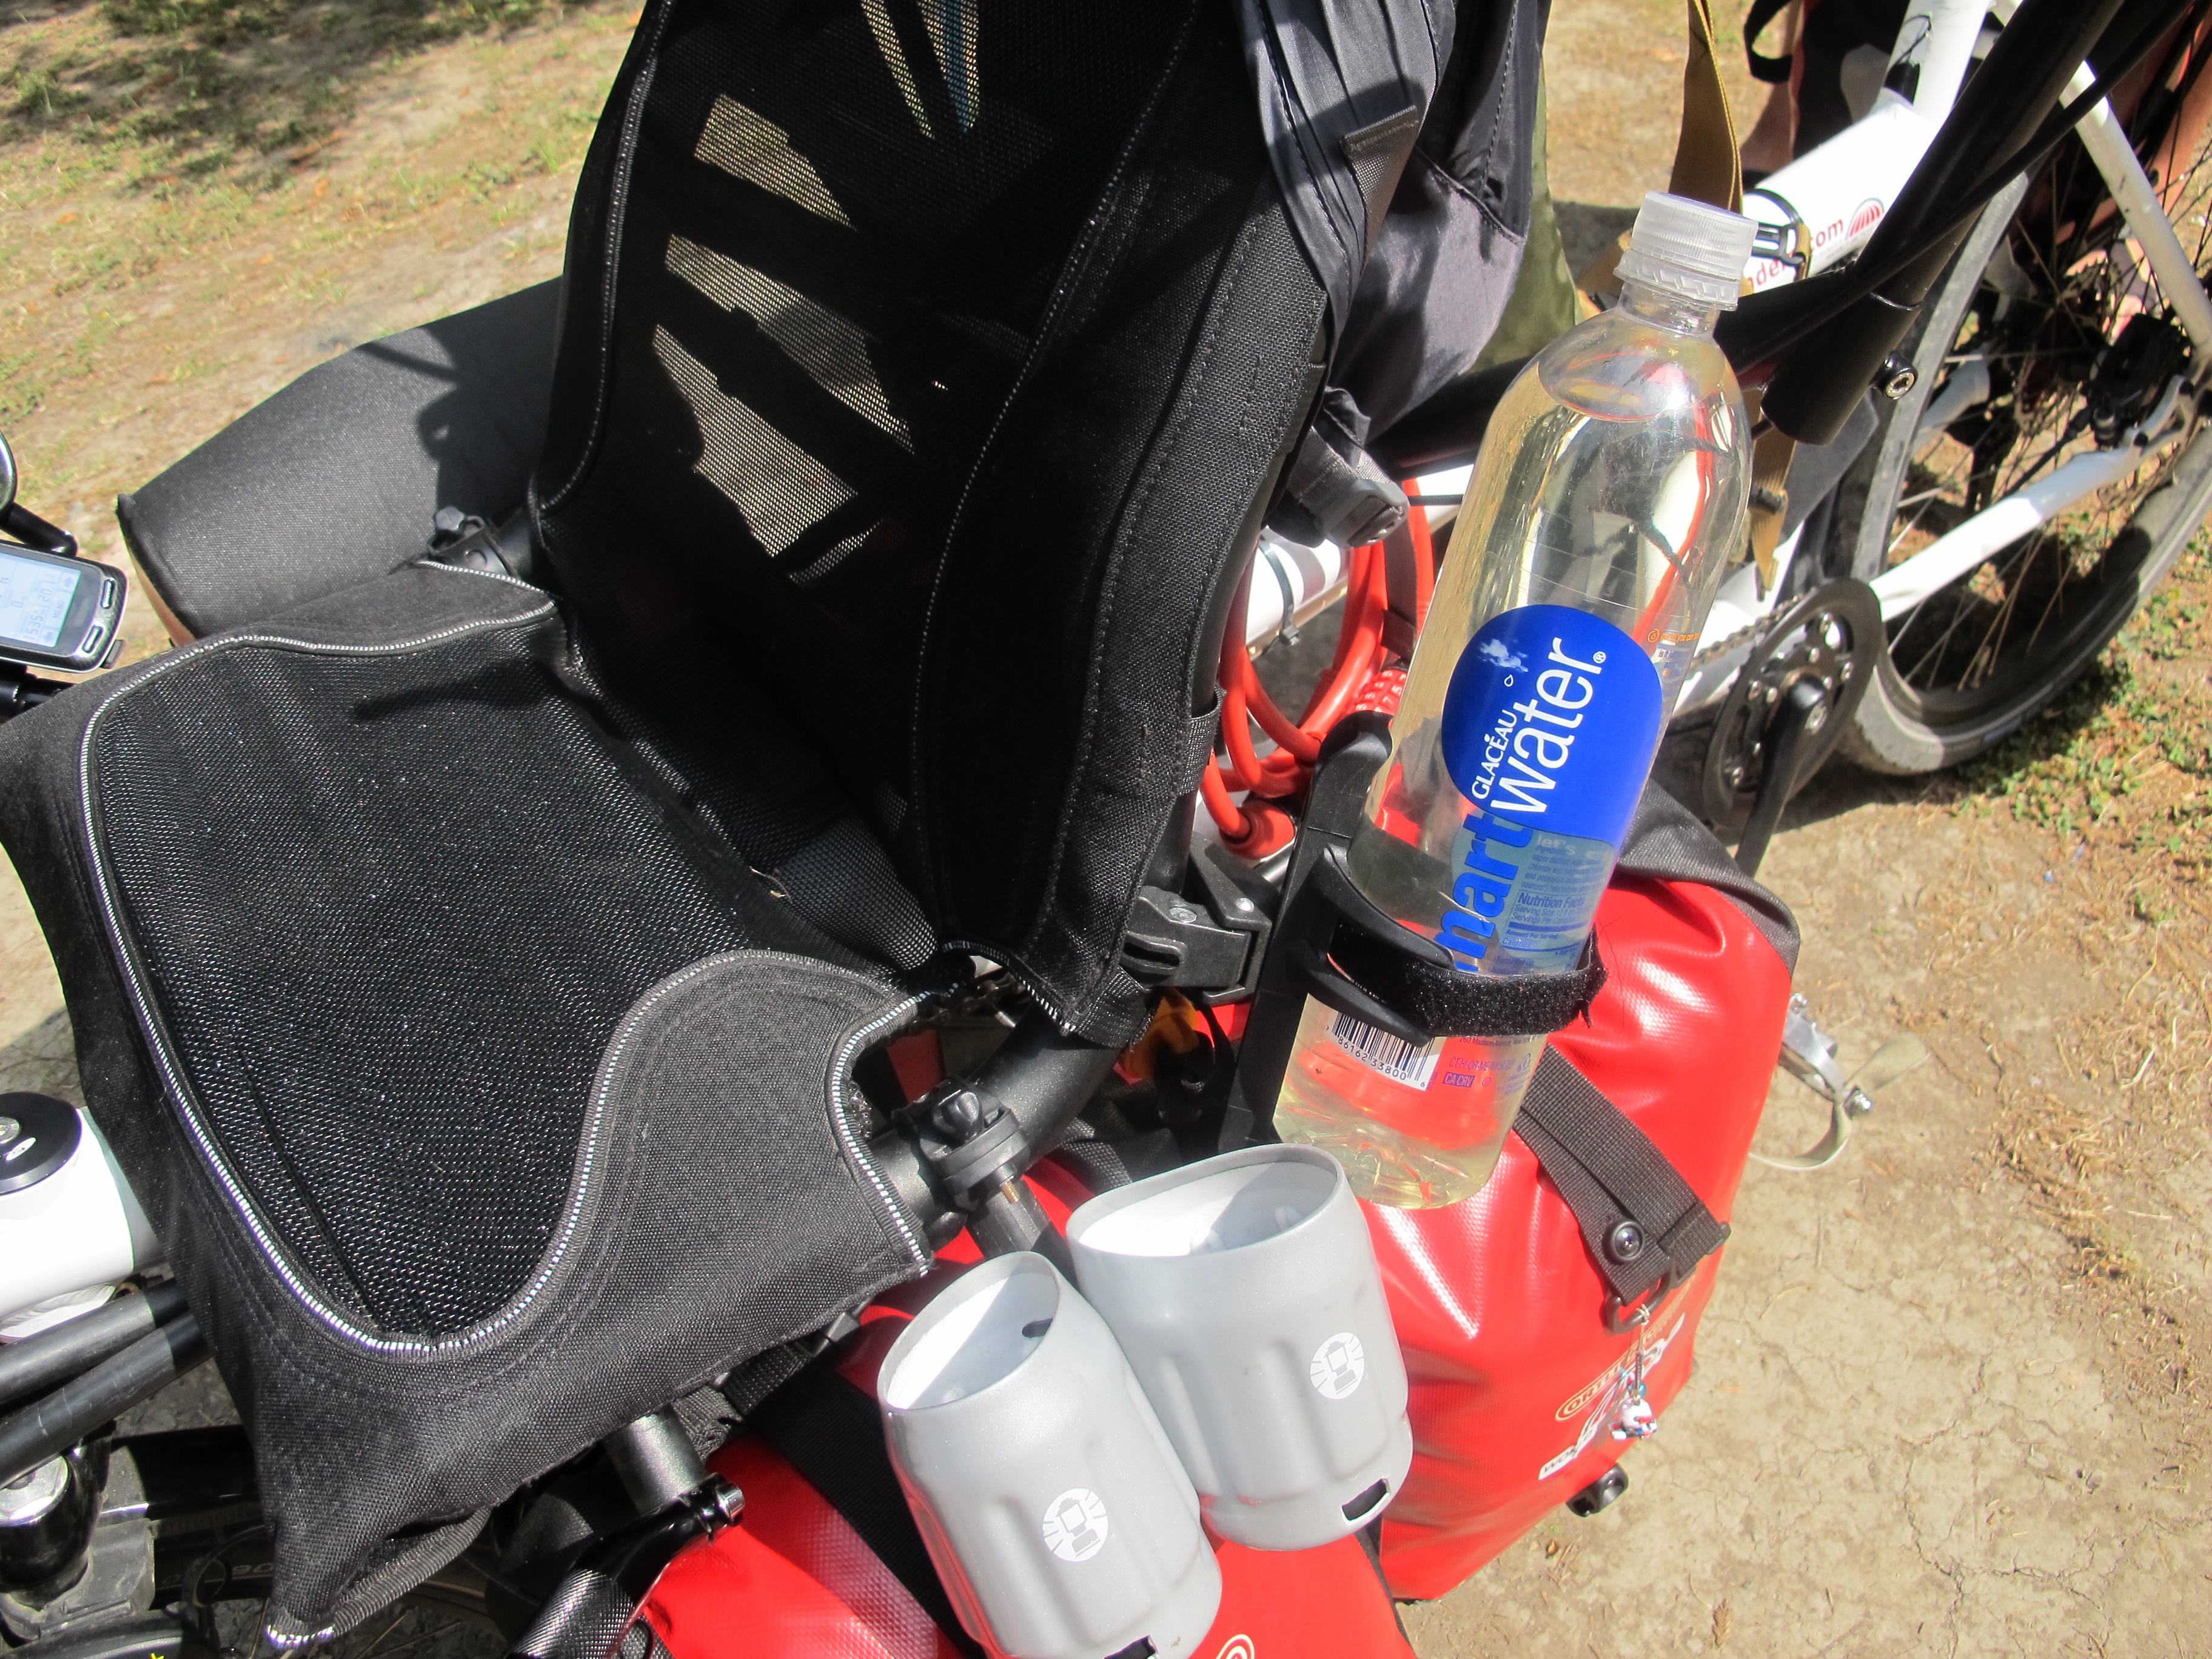
The extra mount for 1.5 litre water bottle (good for mixing rehydrating drinks in)
Water is the biggest challenge on this bike and probably the biggest down side to the design. Only one frame mount for a water cage for a 2 person bike….go figure that one! The best option, used by many Pino tourers, is to fit a backpack, which can hold some hydro bladders to the rear of the front seat. This is by far the easiest way to carry water. We have found a way to fit 2 hydro packs that just fit, to give my legs enough room to move. It is super tight but we can carry 4 litres of water with easy access for both of us during the day. One extra place we have found is to fit a Chariot hydro-clip to the side of the front seat, just behind the handle bar bag and speaker mounts on the vertical tubing of the seat frame. This gives us, up to 3 liters of extra water storage and some easy access to water when we are off the bike. Seven liters might be a little overkill but when we are in some more remote areas, it will come in very handy.
6 – Super-I-Cable (SIC)
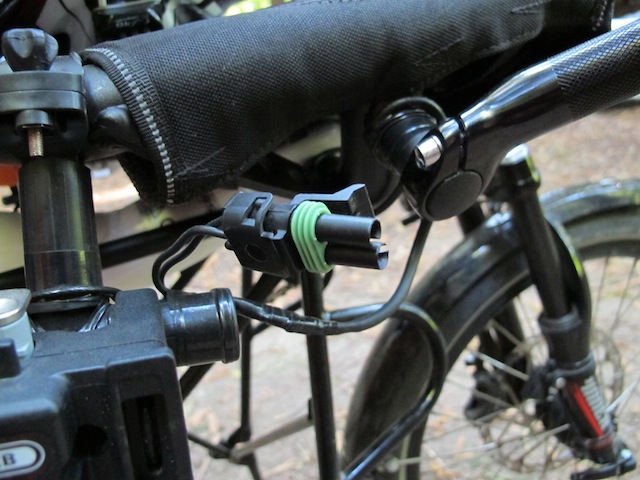
The SIC water proof switch we installed allows easy access to remove the battery
This piece of kit has proved it self, and is one of our favourite gadgets. It has become our main power source collecting the AC power generated from our SON deluxe dynamo hub and converting it to a DC power source that can charge all our USB devices. It keeps the Garmin pointing the way, our sound system pumping the tunes and the camera and AAA batteries topped up. To be fair, it is working way better than I first thought it would. And is out-performing our solar charging system at this point of the tour. Big ‘thumbs up’ to Pedal Power + for their work on this. The only down side they could work on, is to fit a water – proof plug to the cable, that runs from the hub connectors to the battery pack. To remove the battery from the bike as it stands, we would constantly have to remove the connectors from the hub directly. Almost certainly causing damage to the connection over time. It even comes with instruction to not remove these connections once they are positioned as it can damage the terminals. Hmmmm, kind of a big over-sight in my opinion. Back to Clyde’s work shop for some soldering, adding some extra wire and a water proof clip and we now have an easy system to remove the SIC battery and use the power over night. Brilliant piece of work Clyde! I know you were pretty shabby the morning we went to work on it but it is holding in there. Love it!
7 – Park Brake
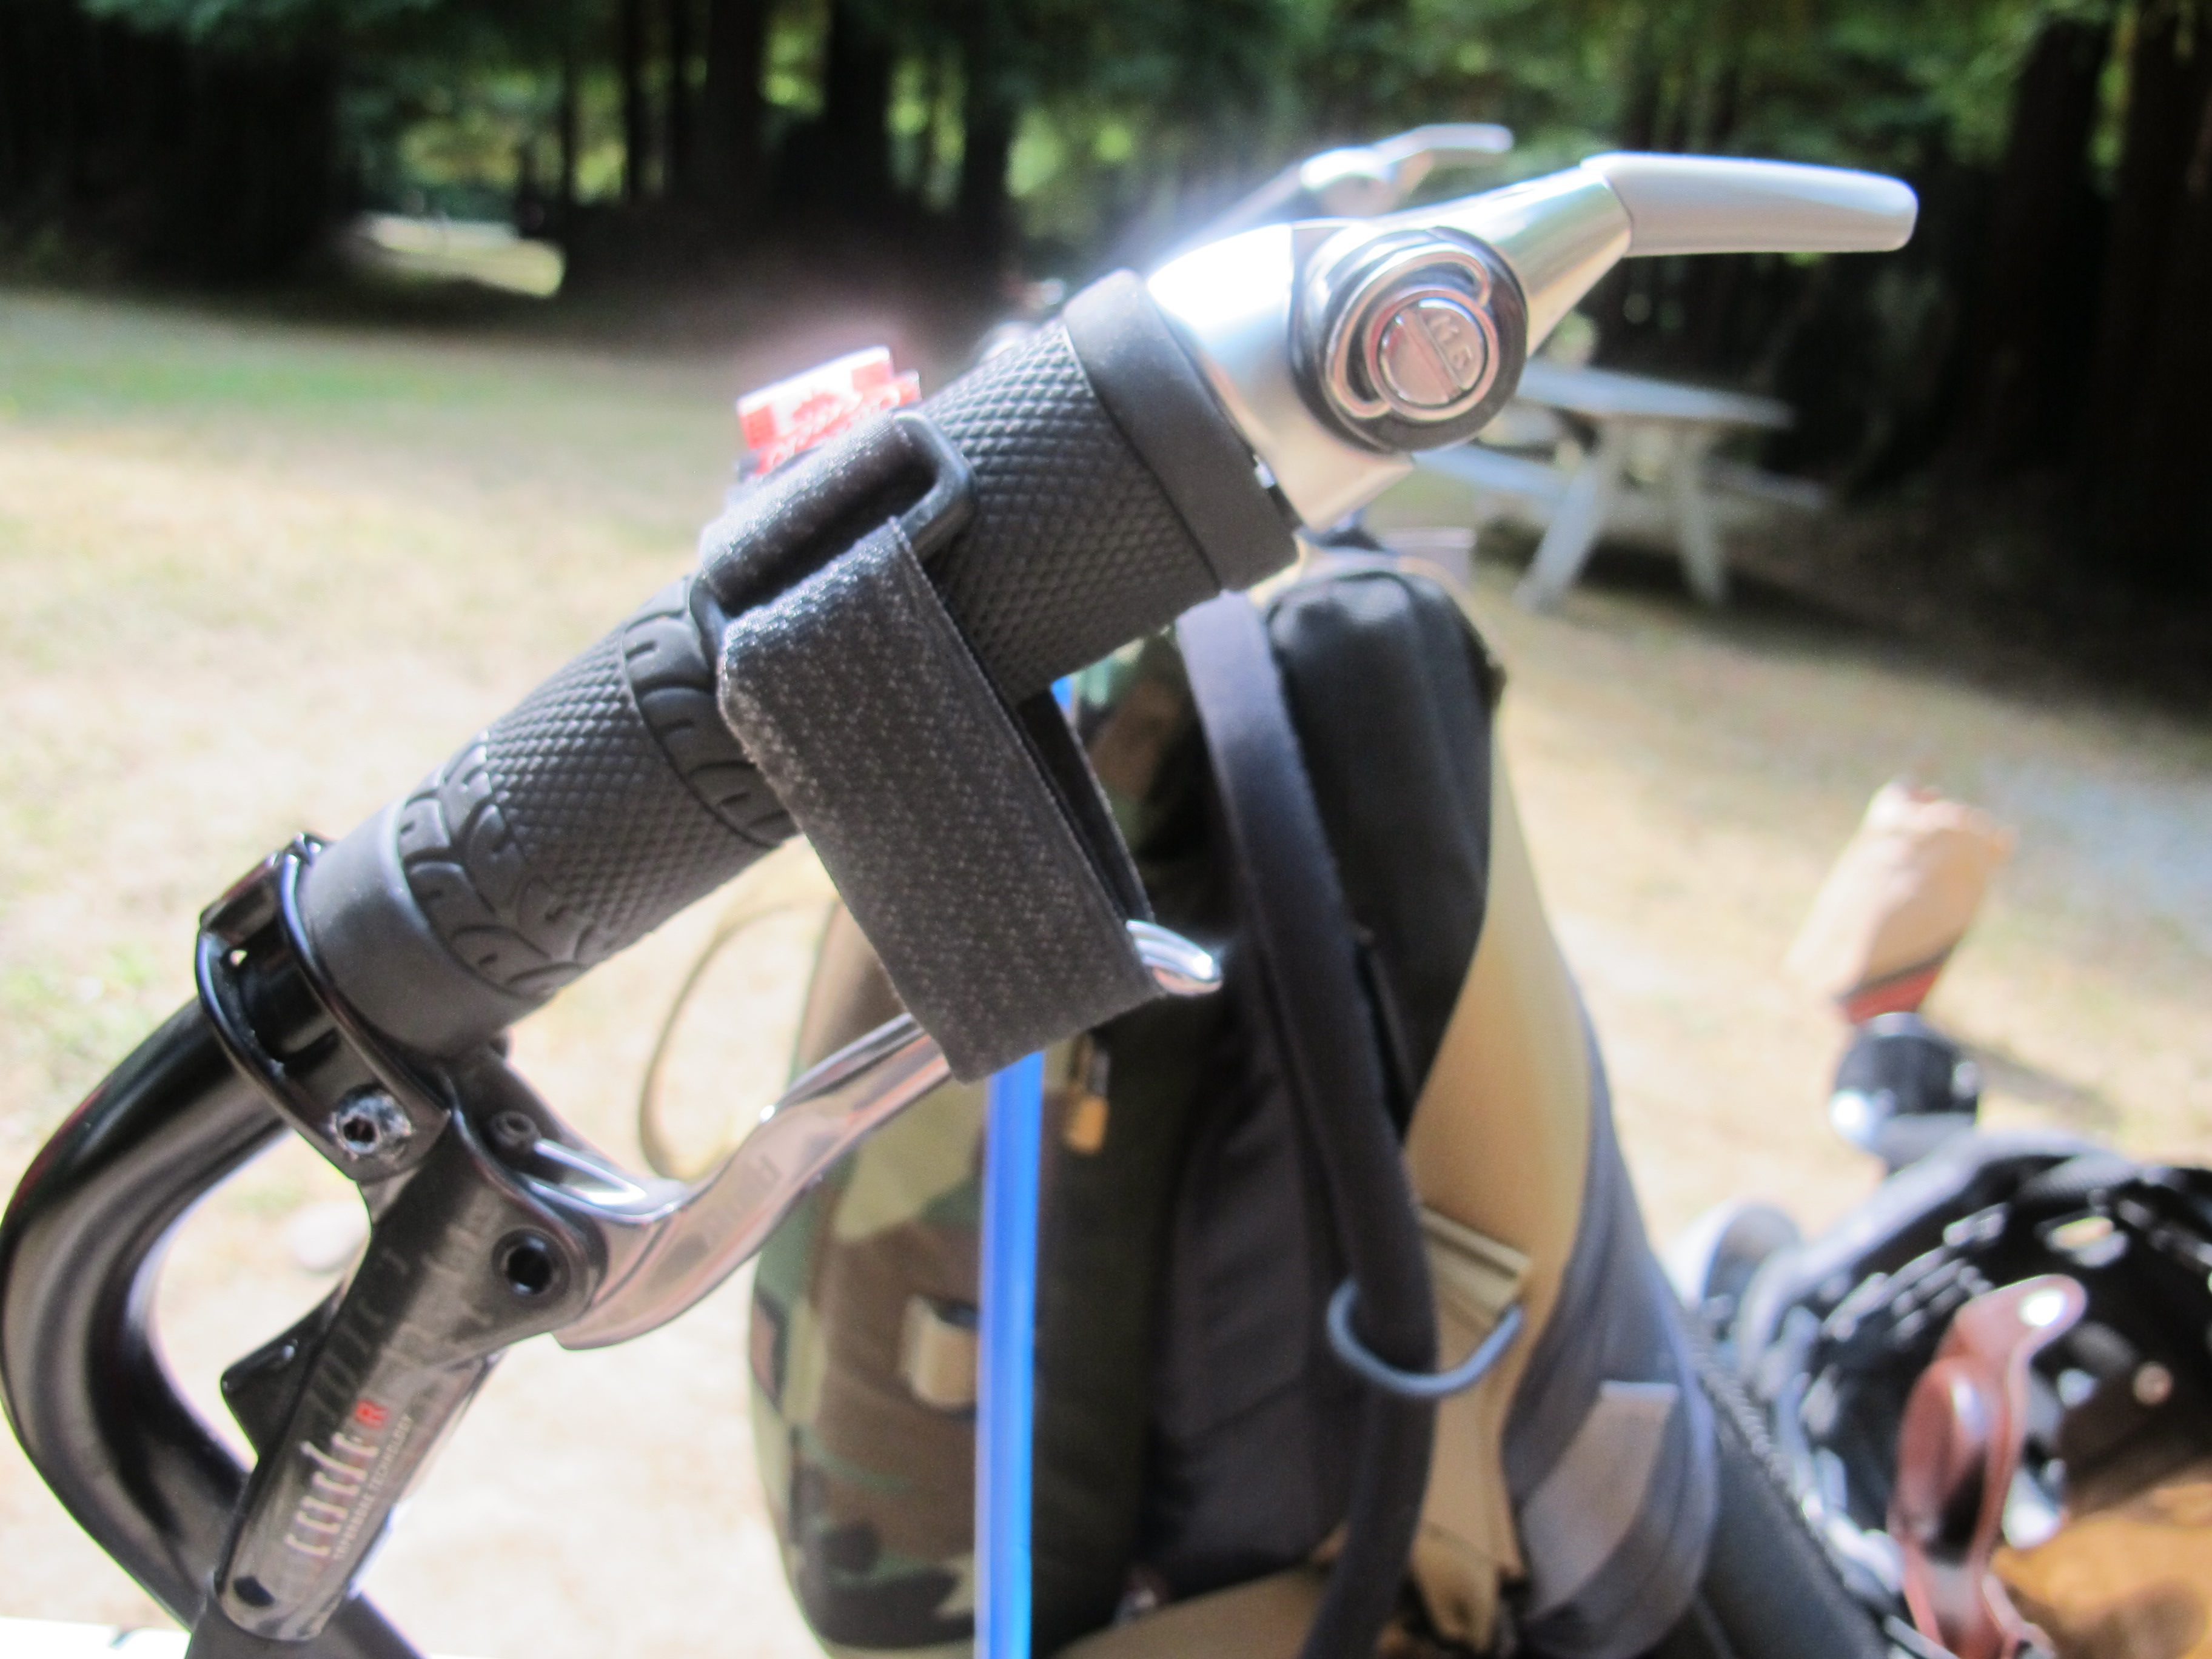
The magical park-brake – velcro
Not my idea but a real gem. Got this idea from the blog threewhelling.net. http://www.threewheeling.net/hase-pino-tour/ Big thanks to them for sharing it. This is the most simple of ideas. The bike itself with gear weighs in at about 75kg and when we are messing about moving things, the bike has a tendency to rock off the kick stand and fall over. Once the bike is tipping it is like trying to hold up a decent sized motorbike. Not ideal. The park brake is a simple velcro strap that we can easily lock onto the rear brake lever to prevent the rear wheel from rolling forward and pushing the kick stand into a compromising position. Awesome.
Em thought I was a genius until I confessed I stole the idea from another blog.
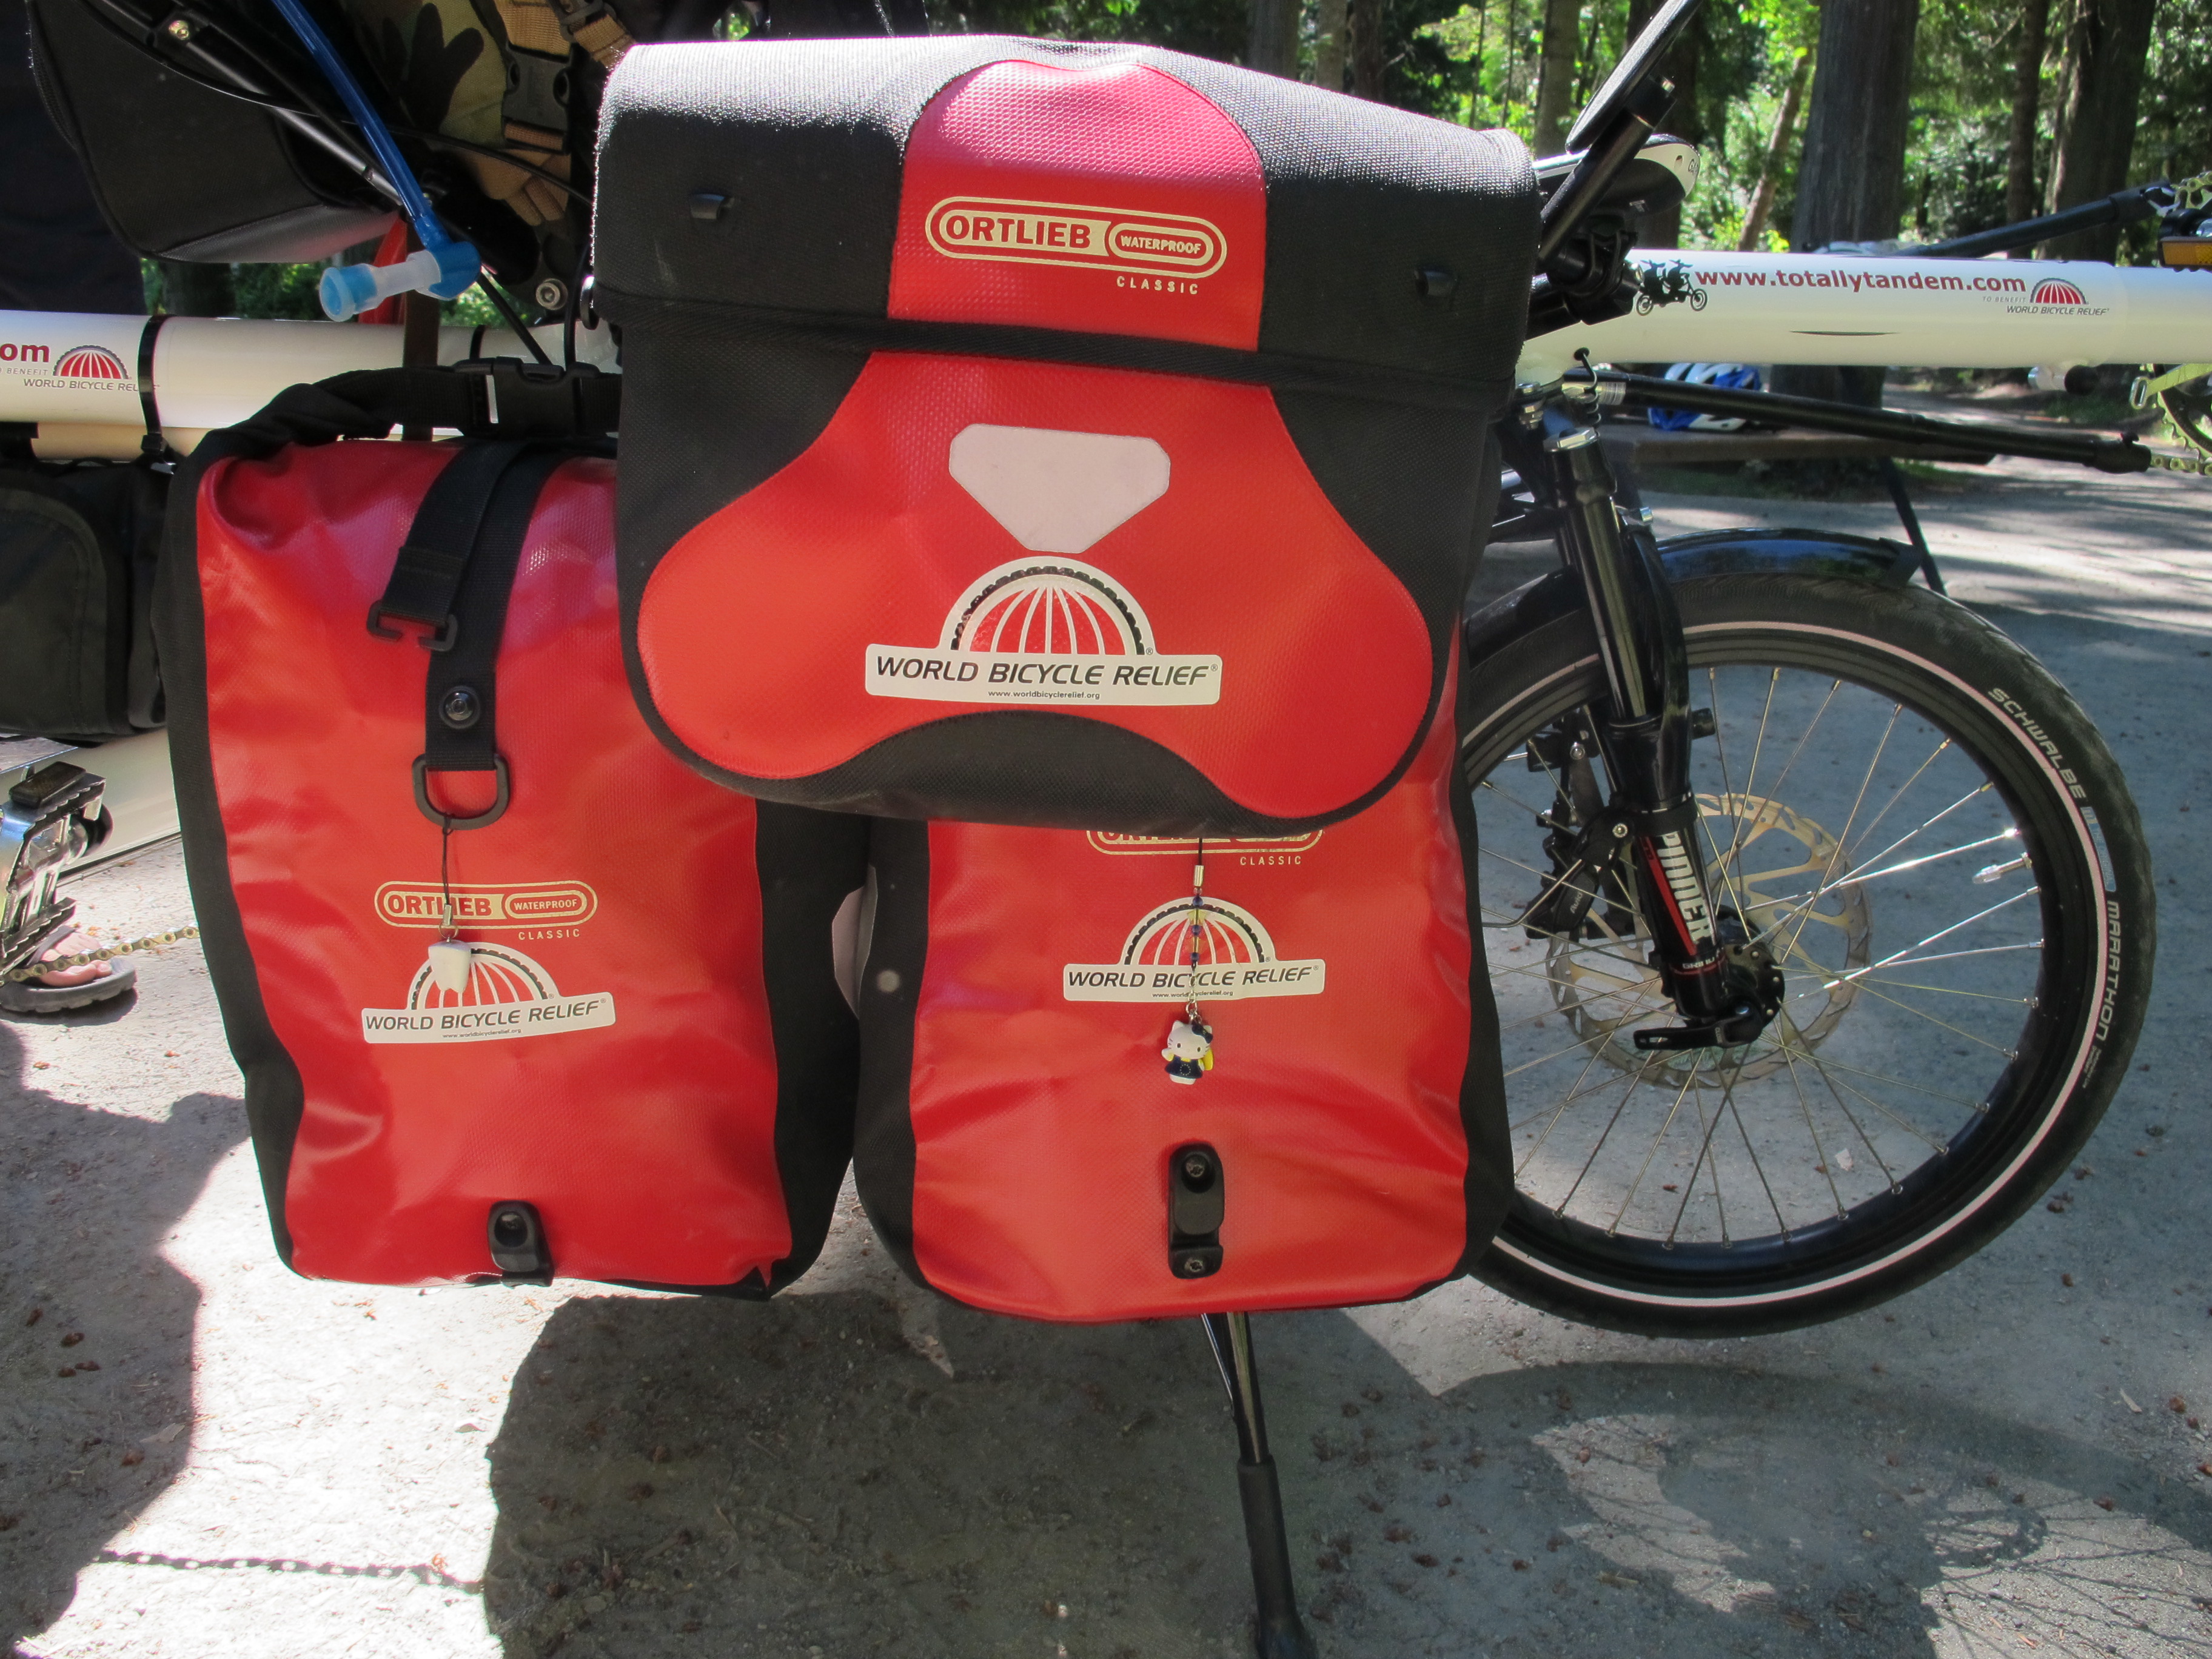
8 – Front Pannier Protection
Yep, another great idea from some Pino tour experts (not sure from what blog). Will have to start writing some things down more often. Anyway, the front panniers sit quite low off the low rider racks and are prone to scraping the ground especially in tight cornering. The use of the trusty Duct tape on the lower outside corners is more prevention from damage before it happens scenario. I will confess now, I have changed my love of Duct tape (as the Canadians love to say….if it can’t be Duct it’s …….), to the more superior (in my opinion) Gorilla Tape. The Canadians know how to do things right. Hopefully this will keep our water- proof Ortlieb panniers waterproof for the entire tour. Simple, yet effective.
9 – Garmin Mount
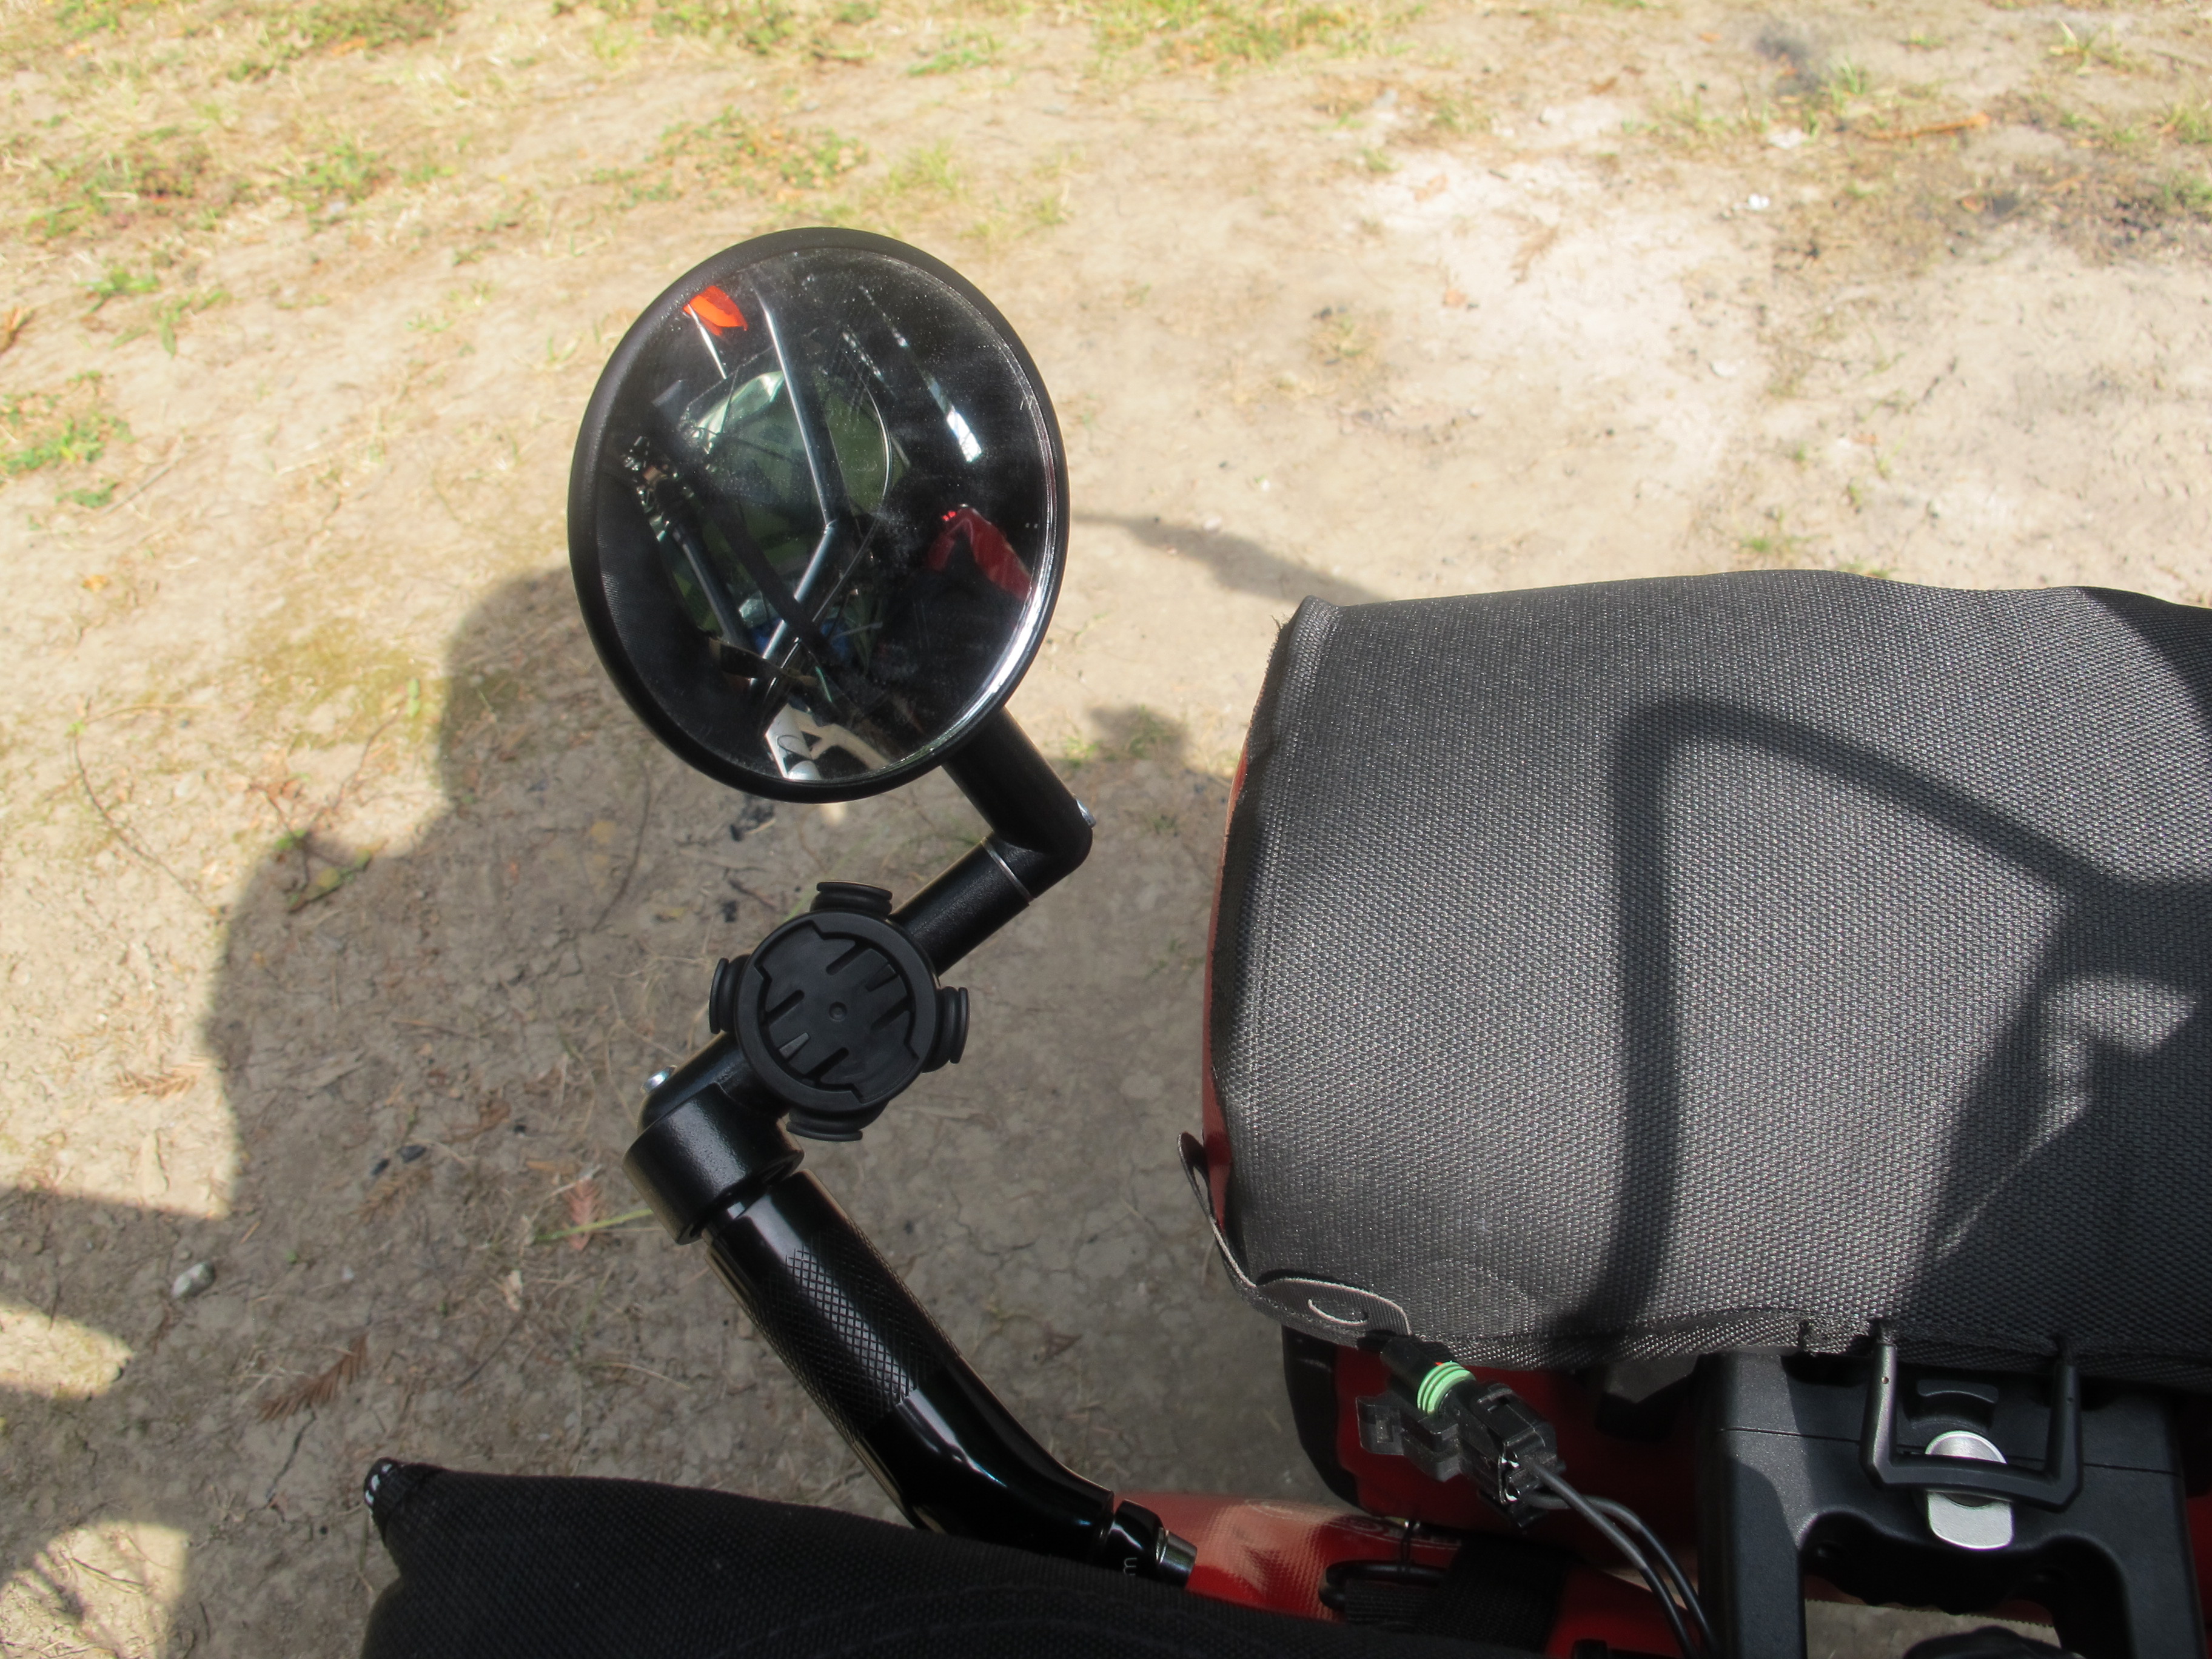
The garmin mount
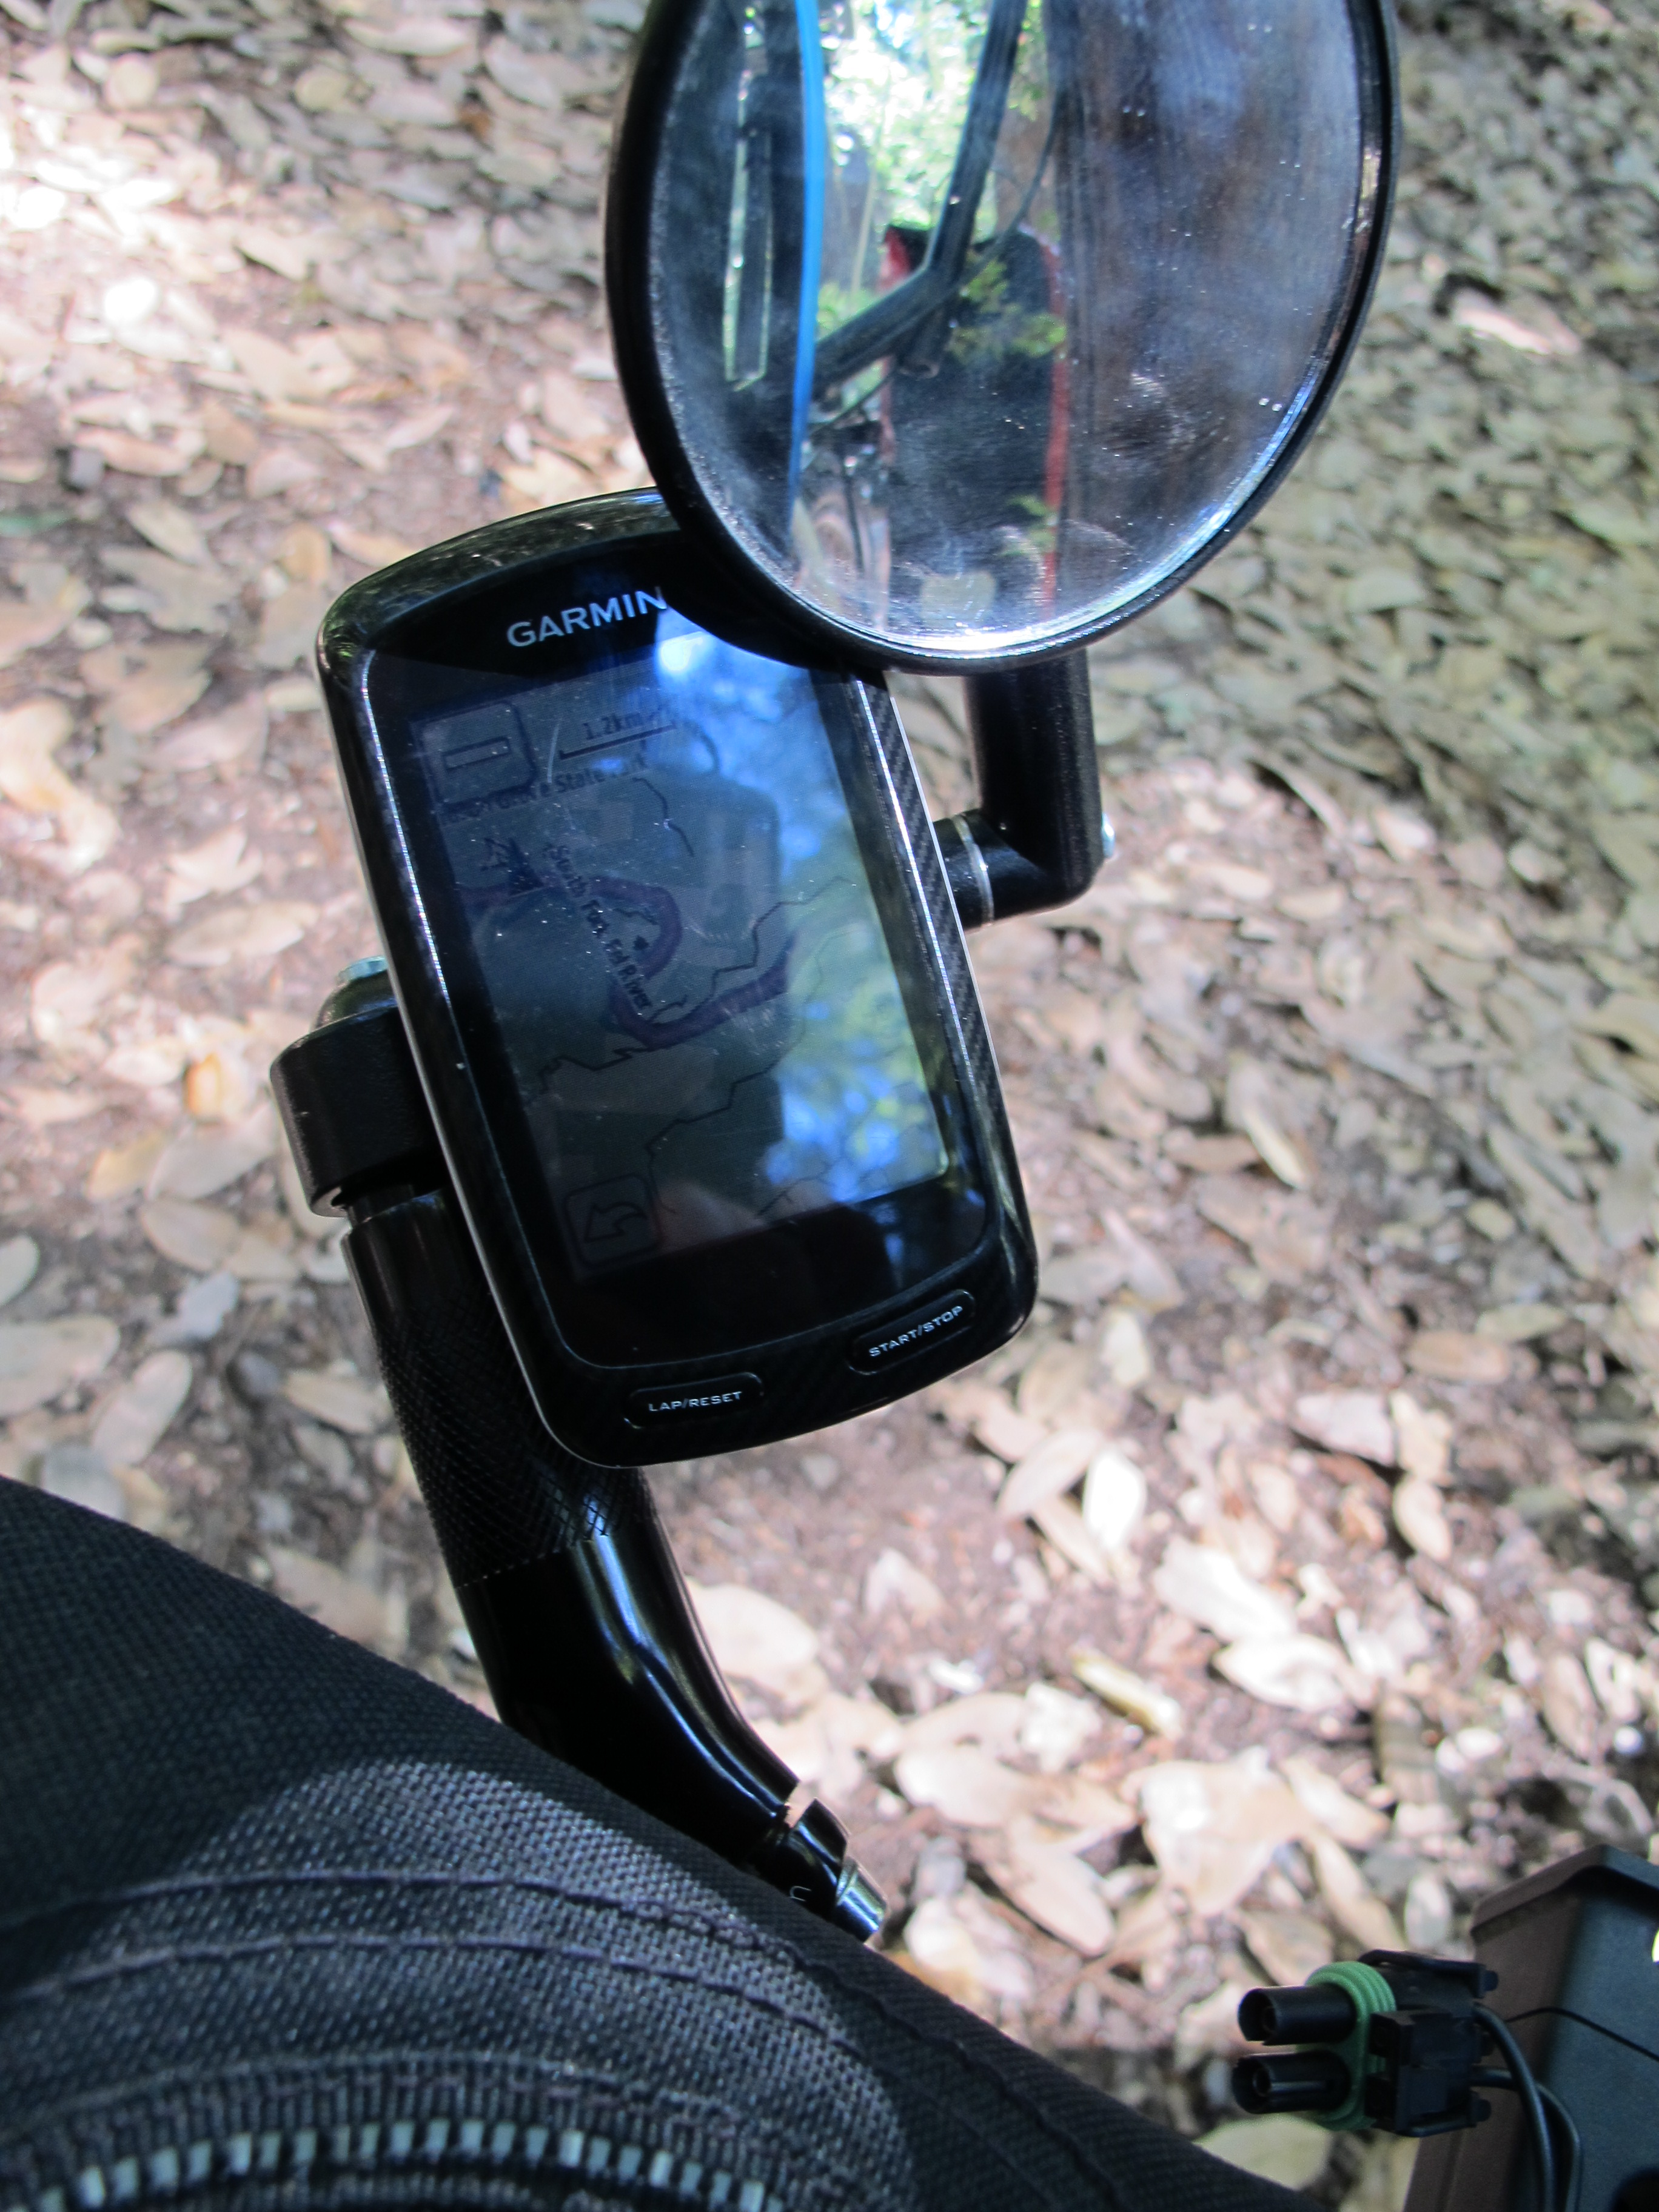
The garmin sitting securely in it’s mount
The use of the rear mirror extension on the right is perfect for the Garmin to sit. Easy access for Em to work, gives me a good view when I want to check time or distances and perfect to fit the usb charging cable from the handle bar bag.
10 – The Falkor Garage
To keep the front seat foam in good condition for longer we are using an old backpack rain cover to fit over the seat at night and when we are off the bike just to add a bit of security from people wanting to test it out. This bike dose attract a lot of attention, sometimes it can be unwanted. To add a bit more camouflage at night we have a small green tarp that covers from the front seat right over the rear racks. Provides some protection from the elements to the rear seat and working parts.
11 – Brooks saddle

Cable ties holding the captains seat in exactly the right position.
The original seat that comes with the bike is pretty good quality but probably not up to the rigors of long touring. From all the research I put in the choice was between a B17 flyer seat (the most popular brooks saddle) or the B66s (which is recommended for a more upright biking position). From what I could find out about the Pino it is a very upright ride so decided on the B66s. In hindsight I probably would have been better off with the B17 flyer. It has a slightly long nose and a single mount bar, which would have fitted the seat mount of the Pino better. As it is, the double bars of the B66s don’t fit the seat mount and the seat wants to slip backwards. This is not ideal for my riding position, so to make this very expensive seat work, I have employed the cable tie again to secure the seat so it want slide backwards. For all you cyclists, this fix may sound way out-there but it seems to be working just fine so I am happy to be able to at least get some use out of this super comfy saddle.

Love a tech-spec post … Full on Brendy style
Dylans using and loving your extra bikeseat!